This months makeover challenge is hosted by Tara from Stillettoandshiplap and Emily from Lecultivateur

The challenge!
Revamp something we already have!! How appropriate for the time we are in right now! I think we are all getting a bit fed up with the whole conflict that this virus has brought into our lives right now! It’s every where we look!
Switch on the tv and whoopa there it is Covid 19.
Go to the grocery store , whoopa there it is again! Afraid to touch our shopping trolleys and baskets not to mention the squeeze between people in the isles 🤷🏻♀️
Pick up the phone ,there it is again! The whole conversation is about the virus 🦠
Go onto Facebook, yes faithful Facebook will constantly remind you the virus is still lurking! Everywhere!! 🦠🦠🦠🦠🦠🦠🦠
Use your toilet , yep!!! probably the biggest reminder because your constantly watching your toilet roll supply!! 🧻🧻🧻🧻🧻
Now try going for a walk !!! Before you even take your first step outside your own home into this world that has become so unknown to us is just beginning ! Yes social distancing! Even a fresh walk isn’t pleasant these days!
Take a little time out!
Well friends! why not distance yourself from this virus for just one moment! You know it’s ok to take a break away from the kaos that’s going on! Switch off the tv, don’t check the news or Facebook , don’t even pick up your phone and just take some YOU time!! Do something that you love doing , for me , it’s Diy crafts or decorating! For you it could be gardening or just getting inspiration for your home! What ever it is just do it!!
This is exactly what I’m doing today.. Taking some me time! And how I’m doing this today is revamping a little old suitcase that was given to me a year ago by our best friends father!!
My Project!
So the story about this suitcase is, it’s already had a bit of a revamp but a disasterous revamp! So disasterous it was shoved into one of my spare bedrooms and hidden under a chair out of sight!!
Every time I moved the chair and caught the slightest glimpse of the suite-case, I would promise myself I would take it out and redo it again, but that didn’t happen! A whole year went by! Anyways this challenge got me going on the redoing the suitcase , after all , a promise is a promise right?
So here’s the suitcase when it was handed to me… Not the most prettiest! Hey?


Up cycle Failure!!!
Which I have no photos!! But originally I had grey stripes on both sides!! Did not look good. I taped up all the clasps and handle and painted around them, but tbd redo made me change my mind on that!
Can I just add , that this project literally took me hrs and days! The paint was so hard to adhere to the suite case!
When I looked at the supposedly finished result!! I mean really!! That’s when it got pushed to the side!!

Originally I had decided that I didn’t want to paint the handle or it’s clasps so I taped them up with some masking tape! And proceeded with tbd painting… Soooo tedious of a job!!
When I painted tbd stripes (sorry I’ve no photos) Trust me I’ve spared you the horror
When I looked at the supposedly finished result!! I mean really!! That’s when it got pushed to the side!!


Taking the project back on again!
I painted out the grey stripes and gave it three more coats , and surprisingly the paint went on much better!
But this time I decided to just paint the whole lot handles clasps and all
I took some sandpaper and sanded the handle locks and side clasps … The edges also got a sanding ! Then I painted it again ( until I was happy ) and sanded again!! 


What’s the project going to be used for?
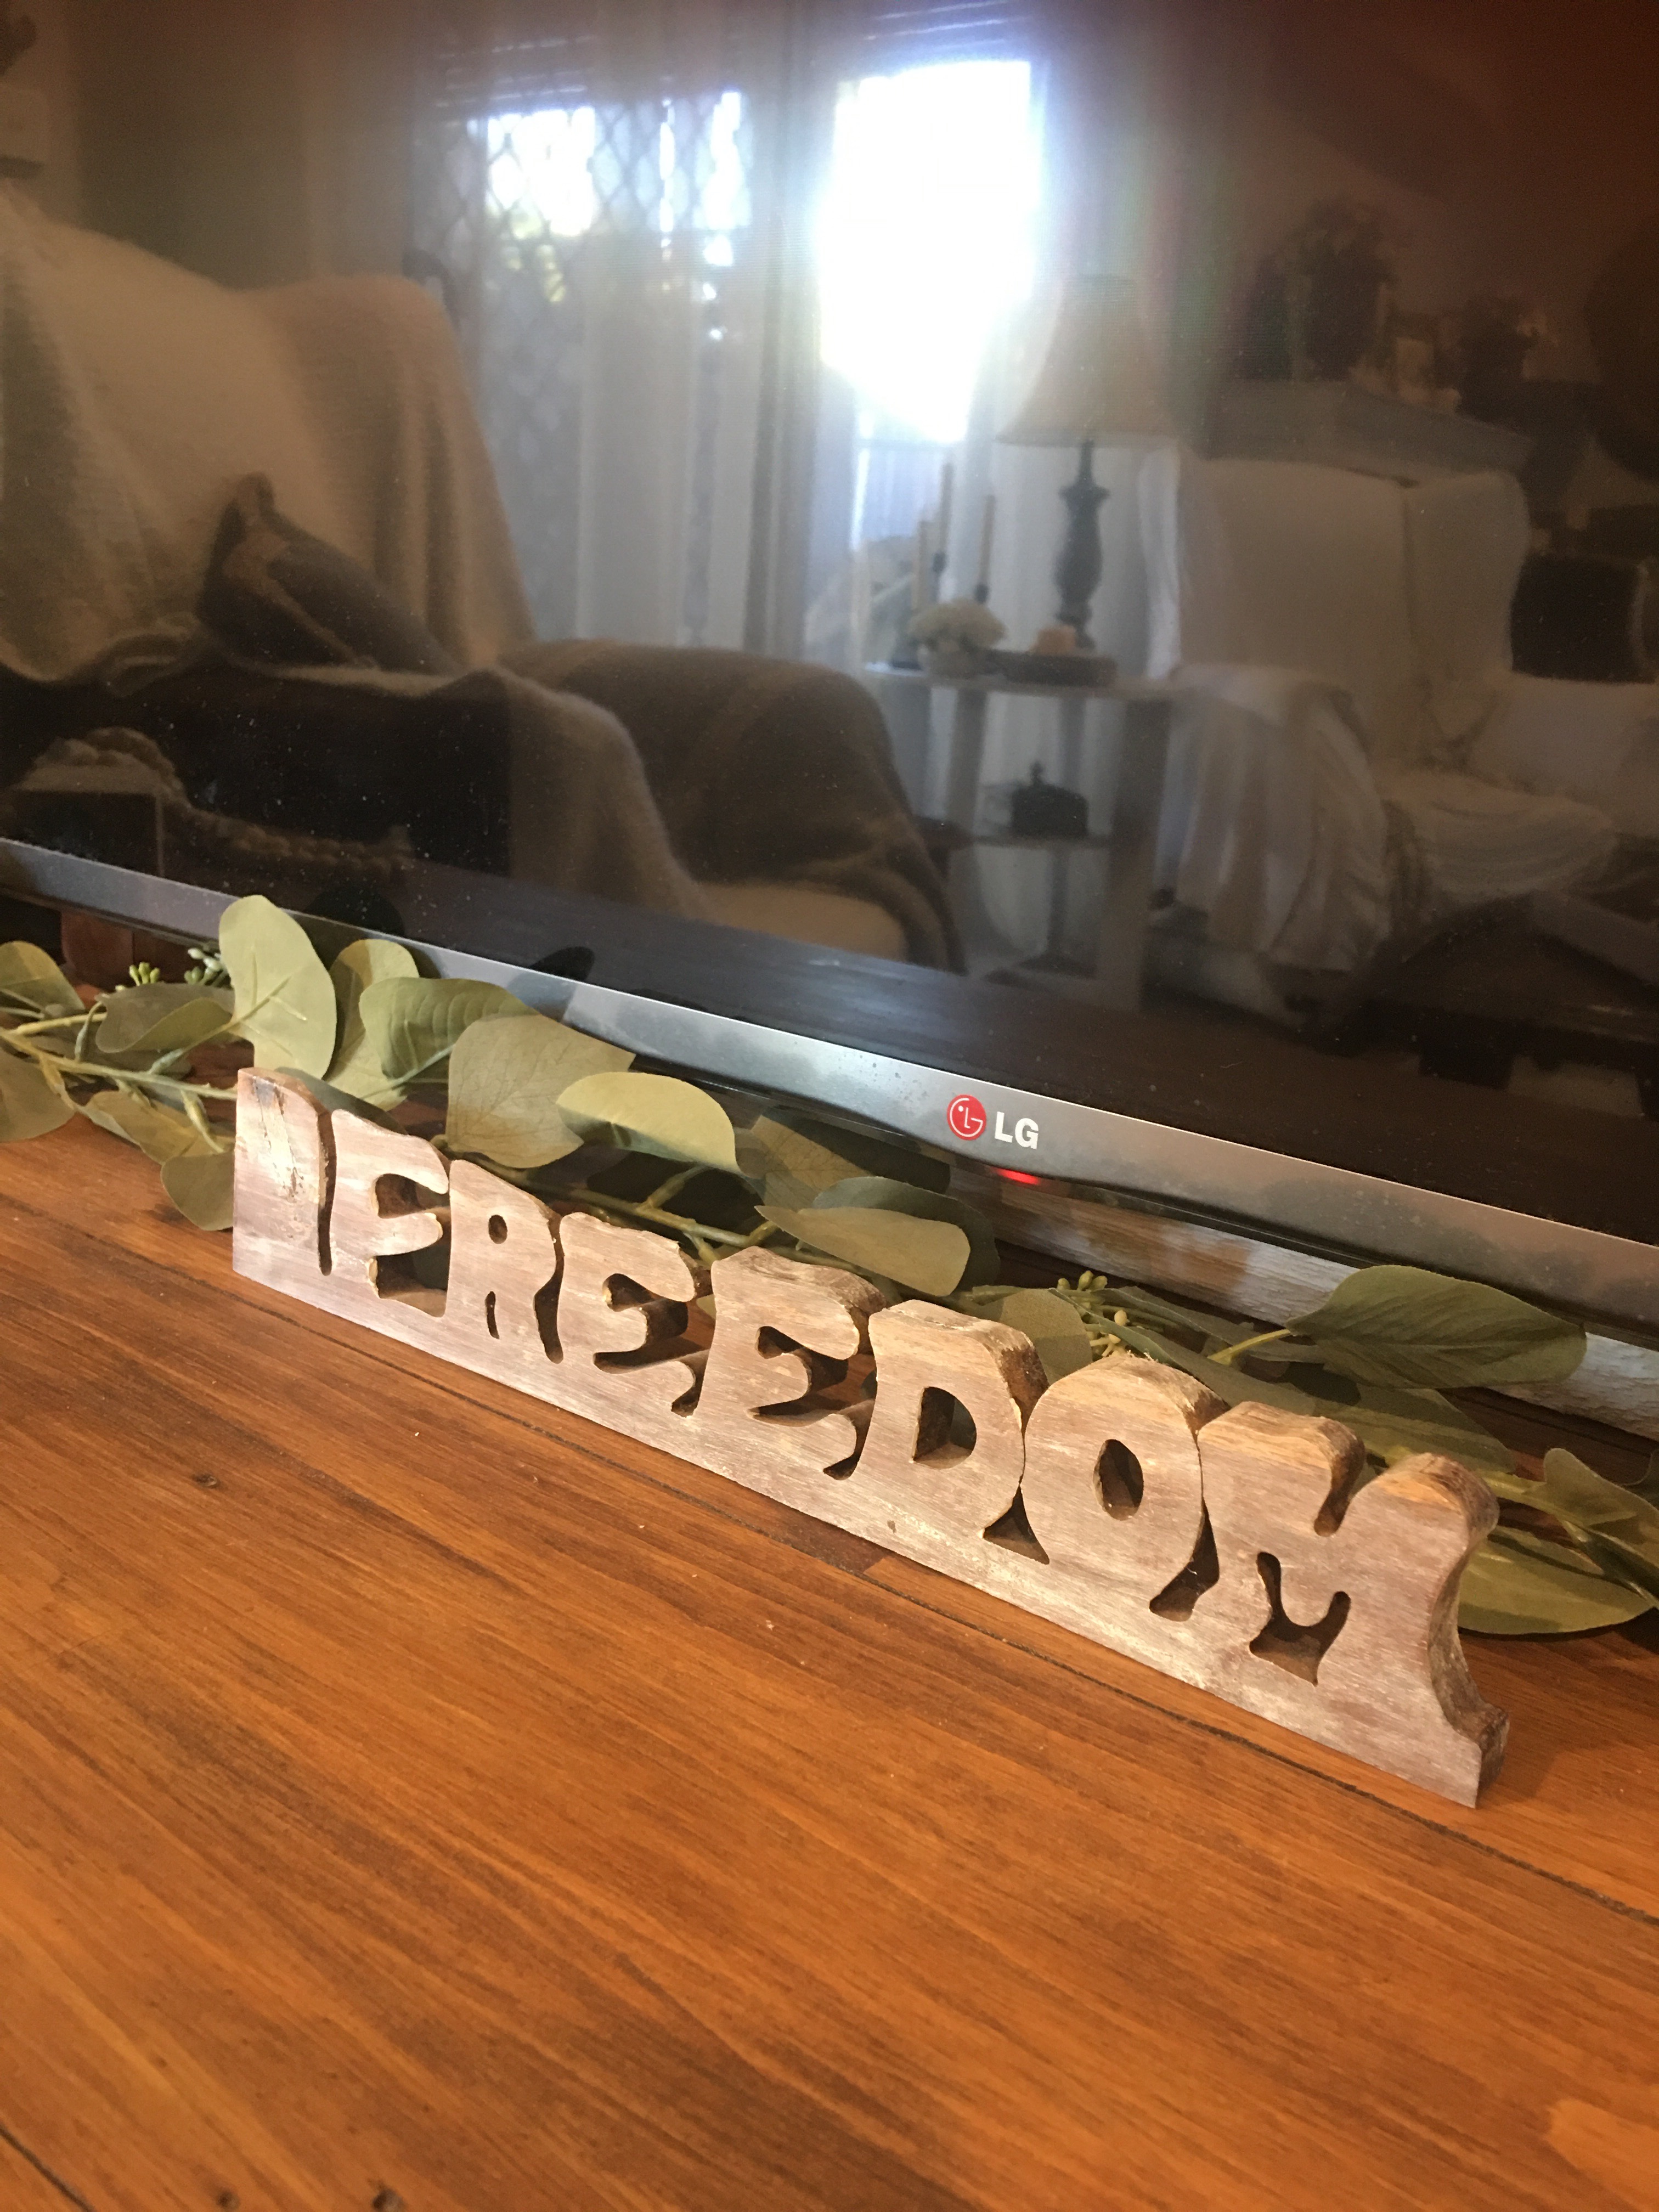
So this little baby is going to be so functional! It’s going to house my Christmas present!!!! Whoot whoot ! Well temporally until we move!
My hubby bought me a Cricut for Christmas and it was just laying around the floor behind my sofa. I literally had no table no extra draw , I mean I had absolutely nowhere for my Cricut machine to go! It just collected dust behind the chair!!
I can’t express how happy I felt , everything just fitted into the suit case just perfectly…


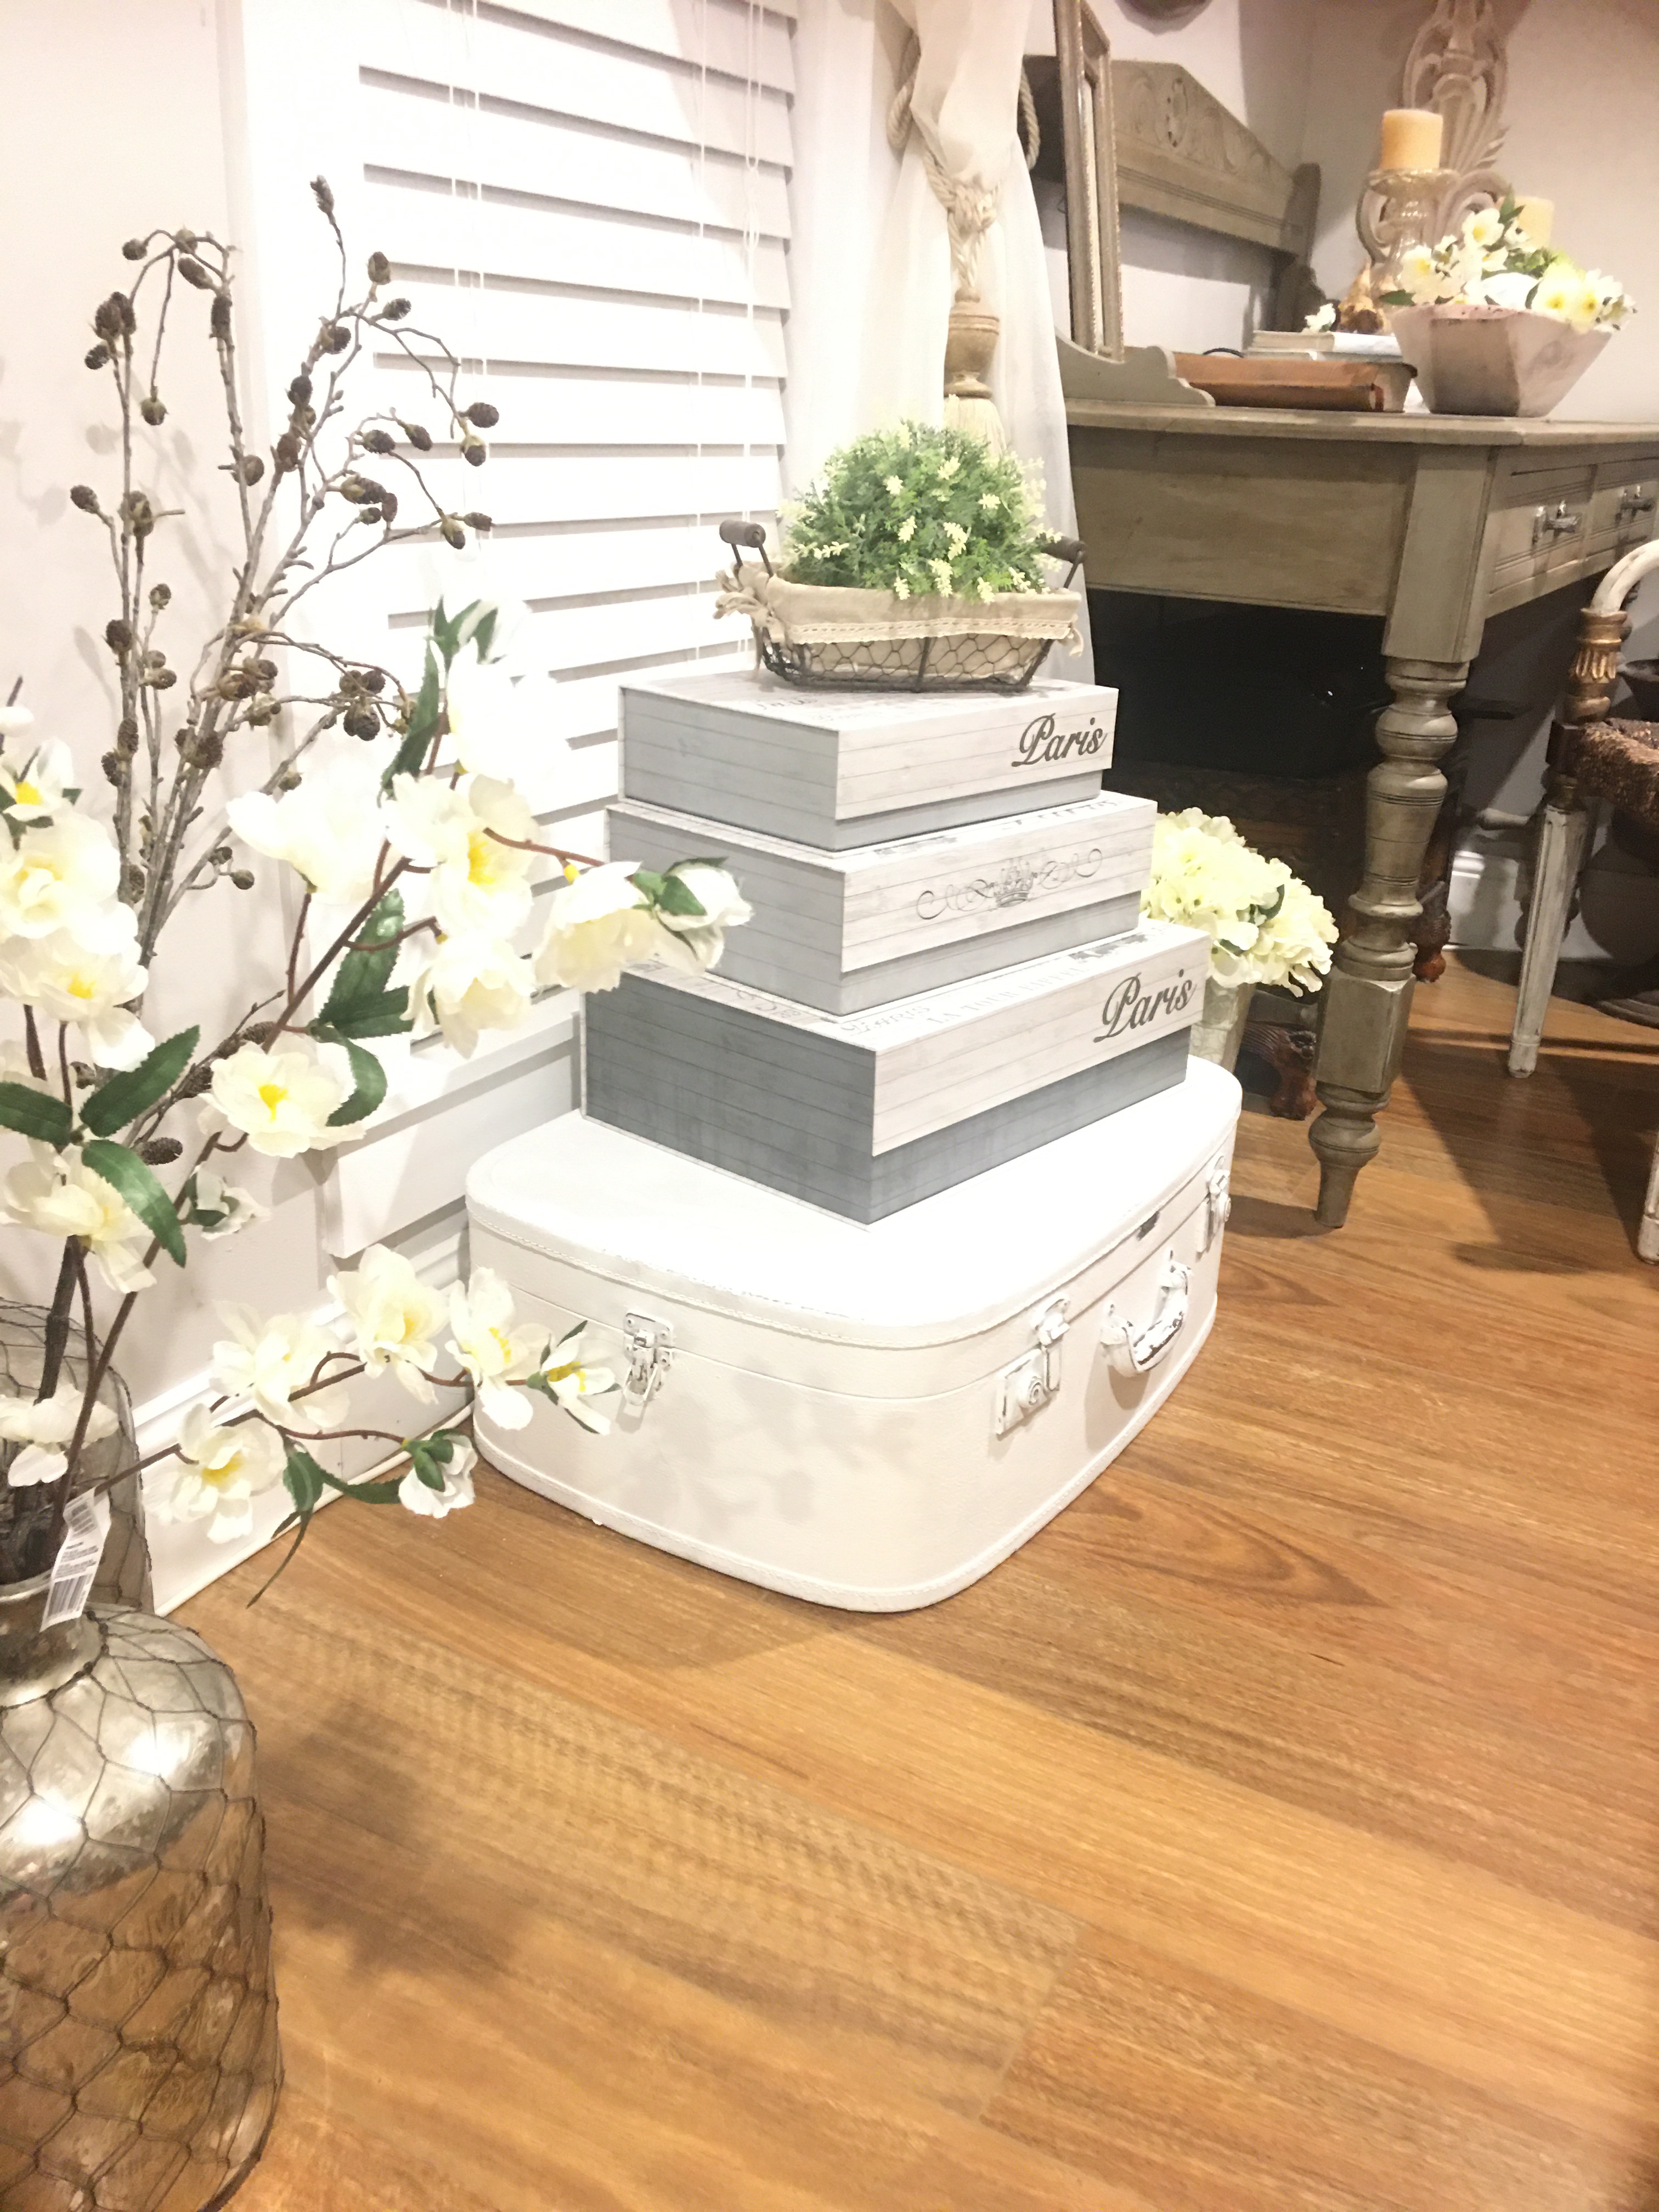
Finished!
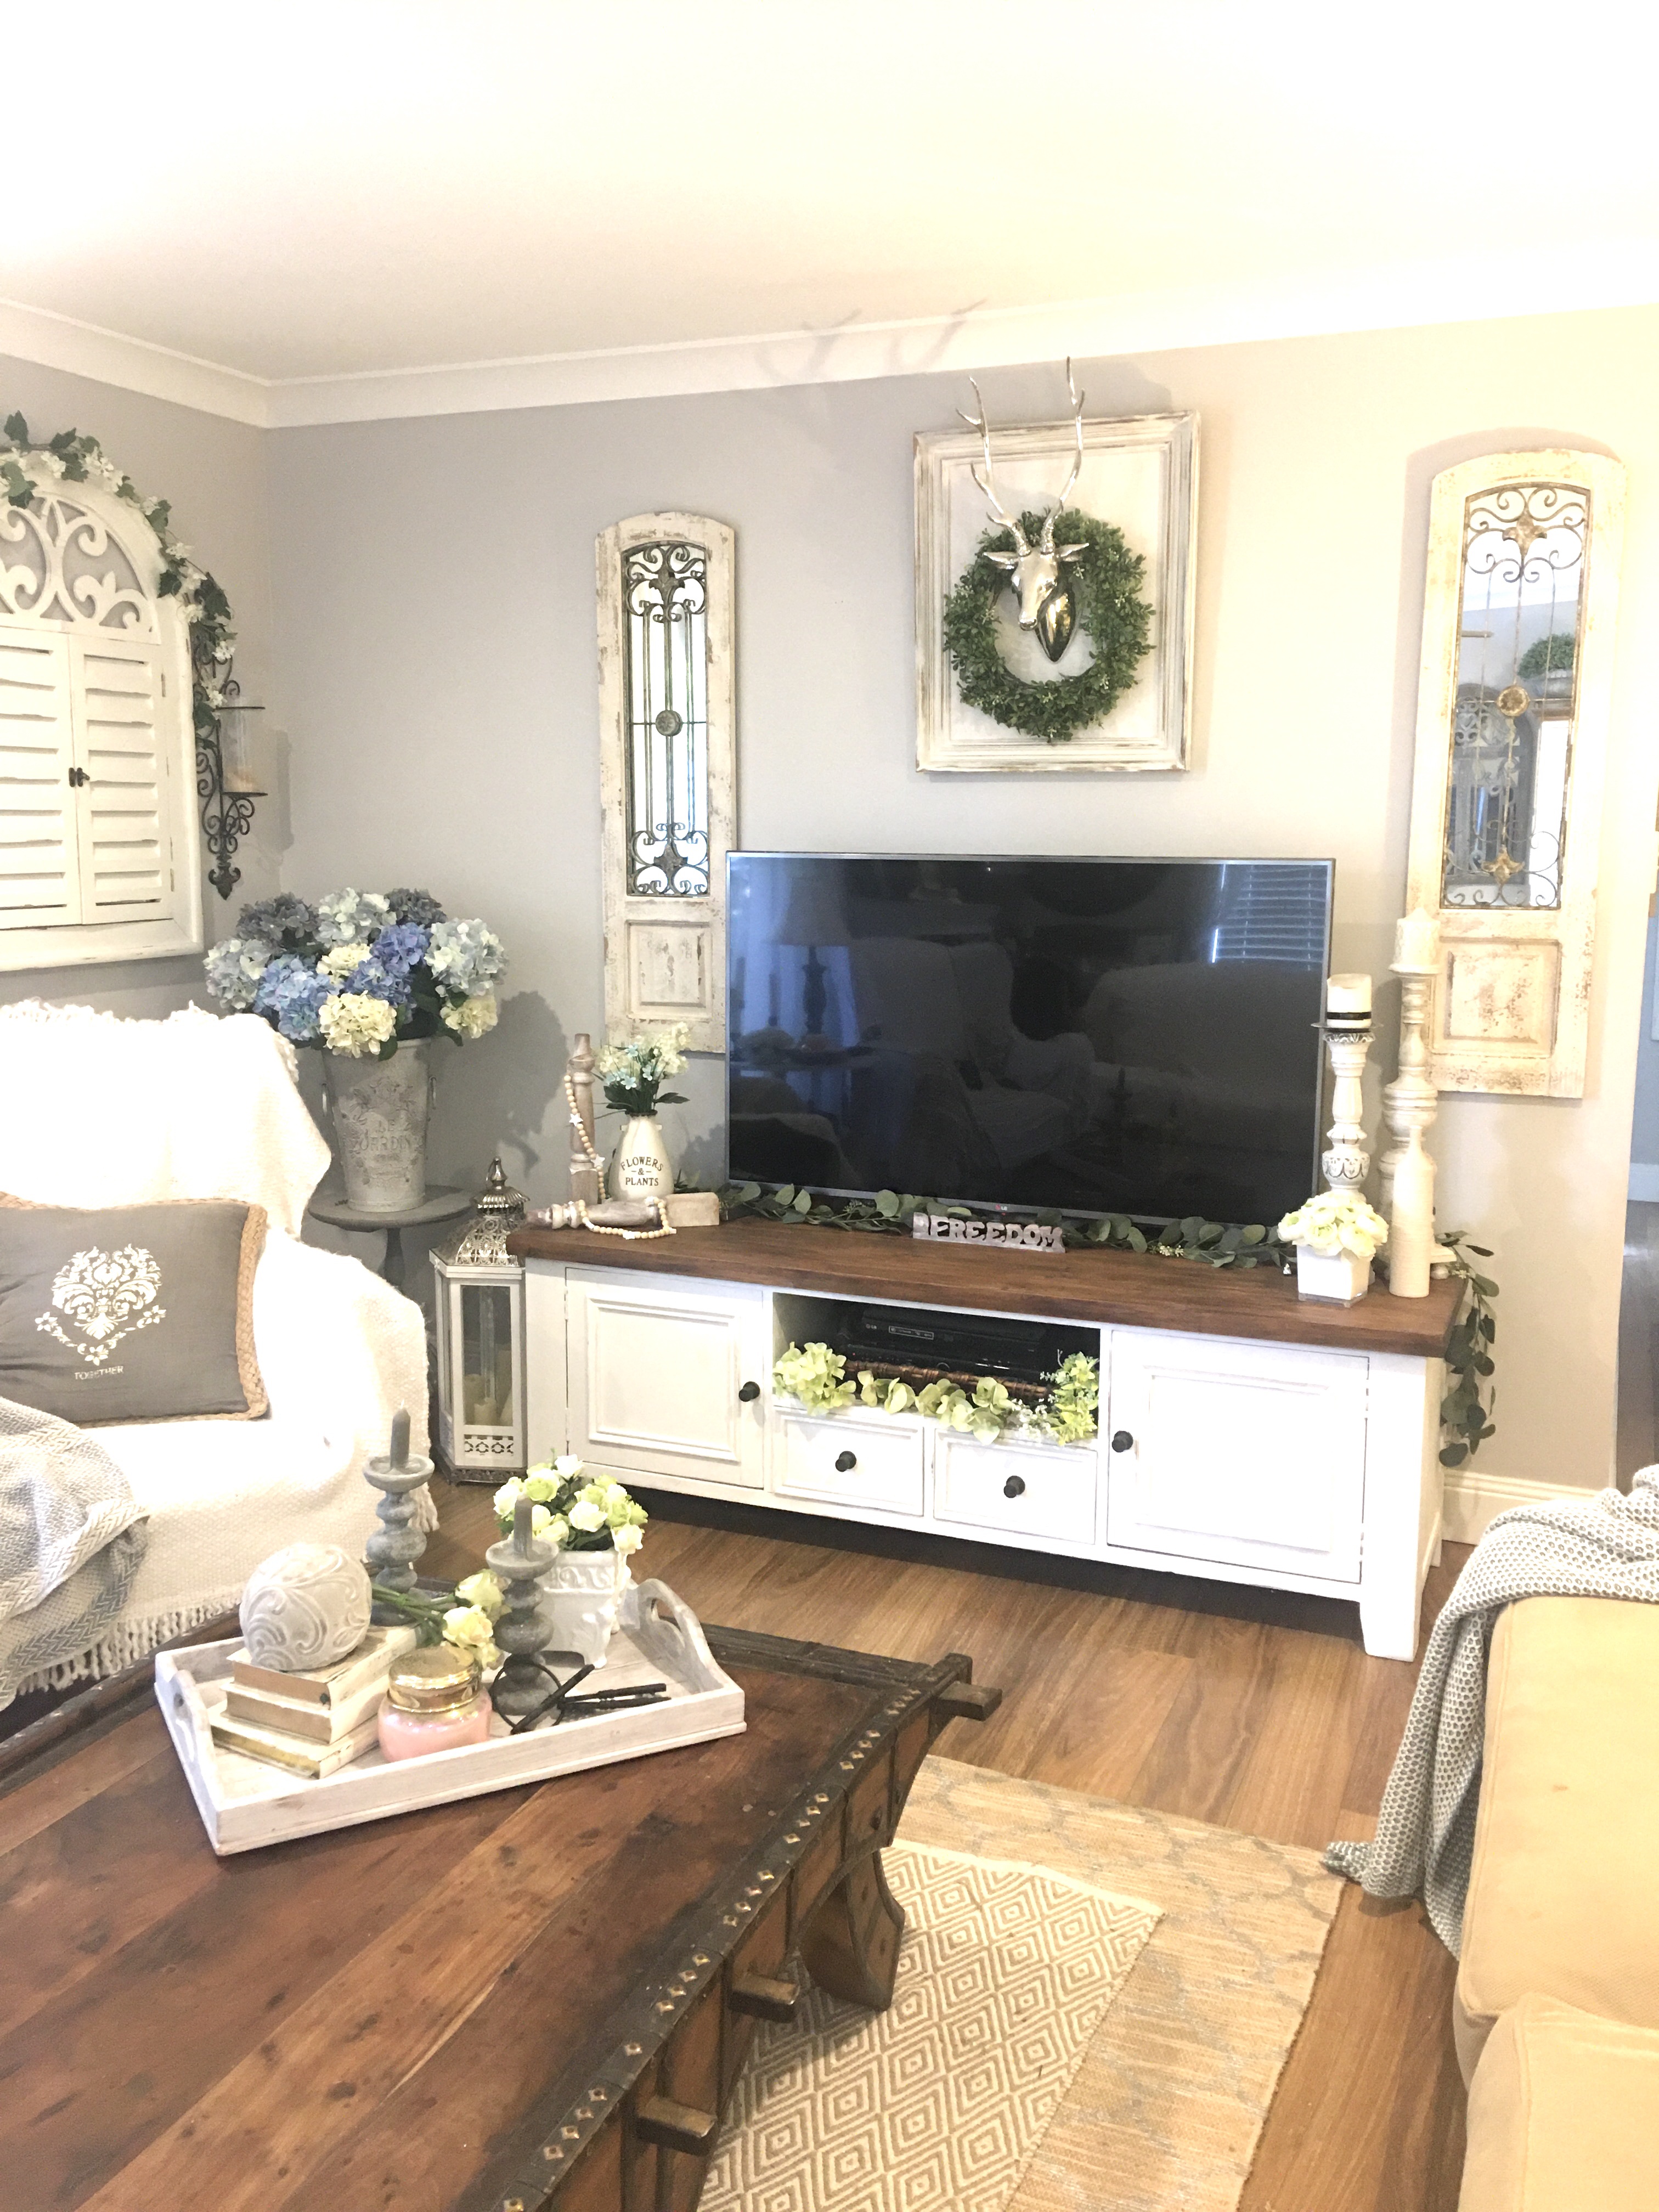
Where does it go now!!!
Sometimes it’s hard to try fit things into areas when you don’t really have the space. So I had to find somewhere for it and make it look ok!
Well , the Cricut machine went right back in the spot where it was collecting dust! But now it had a house! I had nowhere else for it to go so it stays here under my window.. On the plus side, it’s easier to dust a suitcase than to dust the machine, winner!!
So not it just meant styling it, or around it!!
Well guys here’s my finished project I hope you liked the revamp…

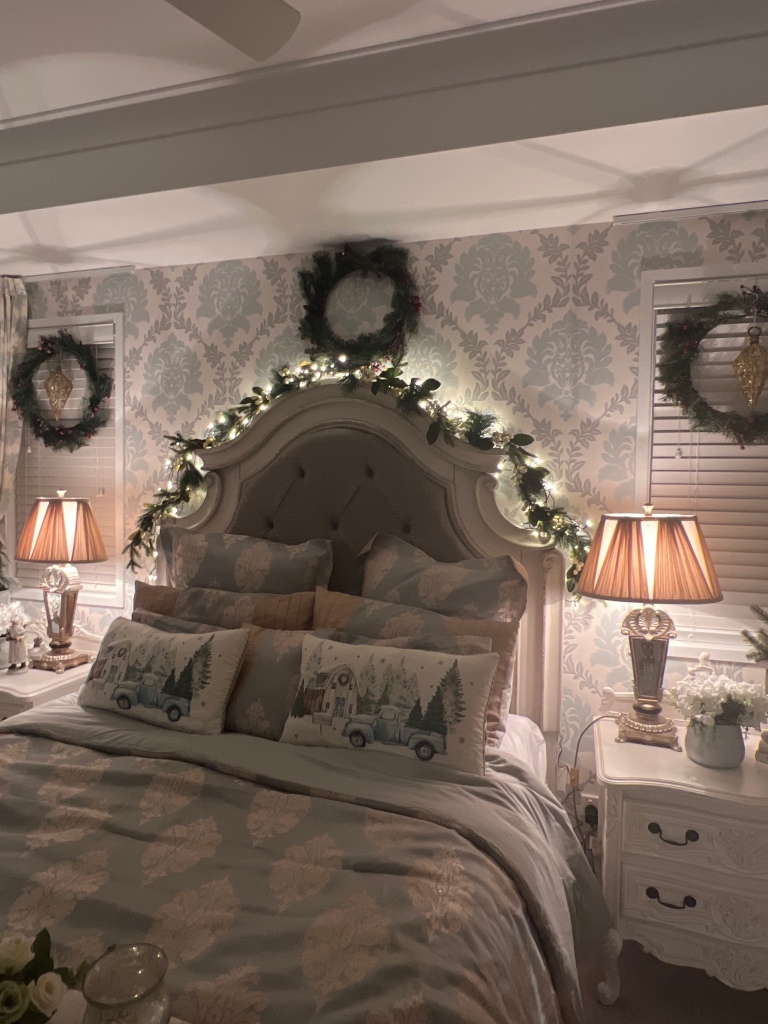
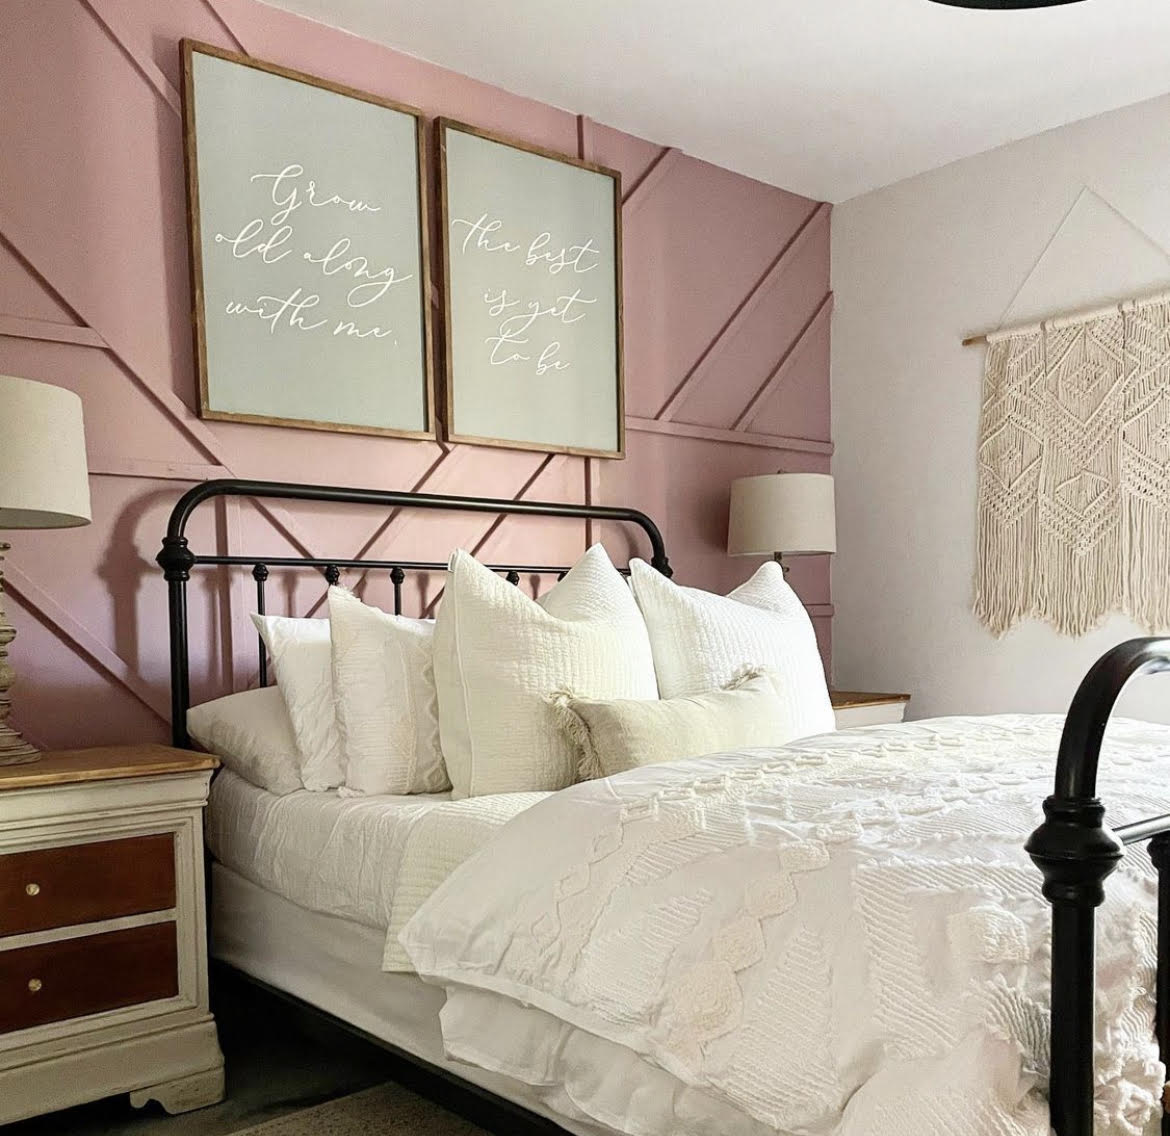
Doesn’t a project look so different through out the day! If you switch on a light or open a blind or even when the glorious sun starts to move and cast shadows or illuminates brightness throughout the house!
Do you have a particular time of day that you love? You know that time of day when you find your self leaning towards running to a certain area item or place in your home because it’ brings a smile to your face and you just want to dwell in its beauty , for just a moment! Yep!! I do that a lot! For me I love it all day or night! I love the morning sun and the glow it brings through in certain rooms and then I love the night when tbd lamps go on and brings that settlement of peace and coziness after a long day!!


Don’t forget to go over to all the other participants and see what they have done for this revamp challenge!!
http://avintageflarefarmhouse.com/2020/05/09/dresser-makeover

https://wordpress.com/post/clochesandlavender.com/11406

https://www.thehousehouse.com/upcycling/quarantine-upcycle-challenge

https://stilettosandshiplap.com/quarantine-upcycle-challenge:-crib-to-patio-bench/5423/

http://jessicabsimmons.com/quarantine-upcycle-challenge:-closet-makeover/

https://lecultivateur.com/2020/05/11/quarantine-upcycling-challenge-from-bunk-beds-to-day-bed/


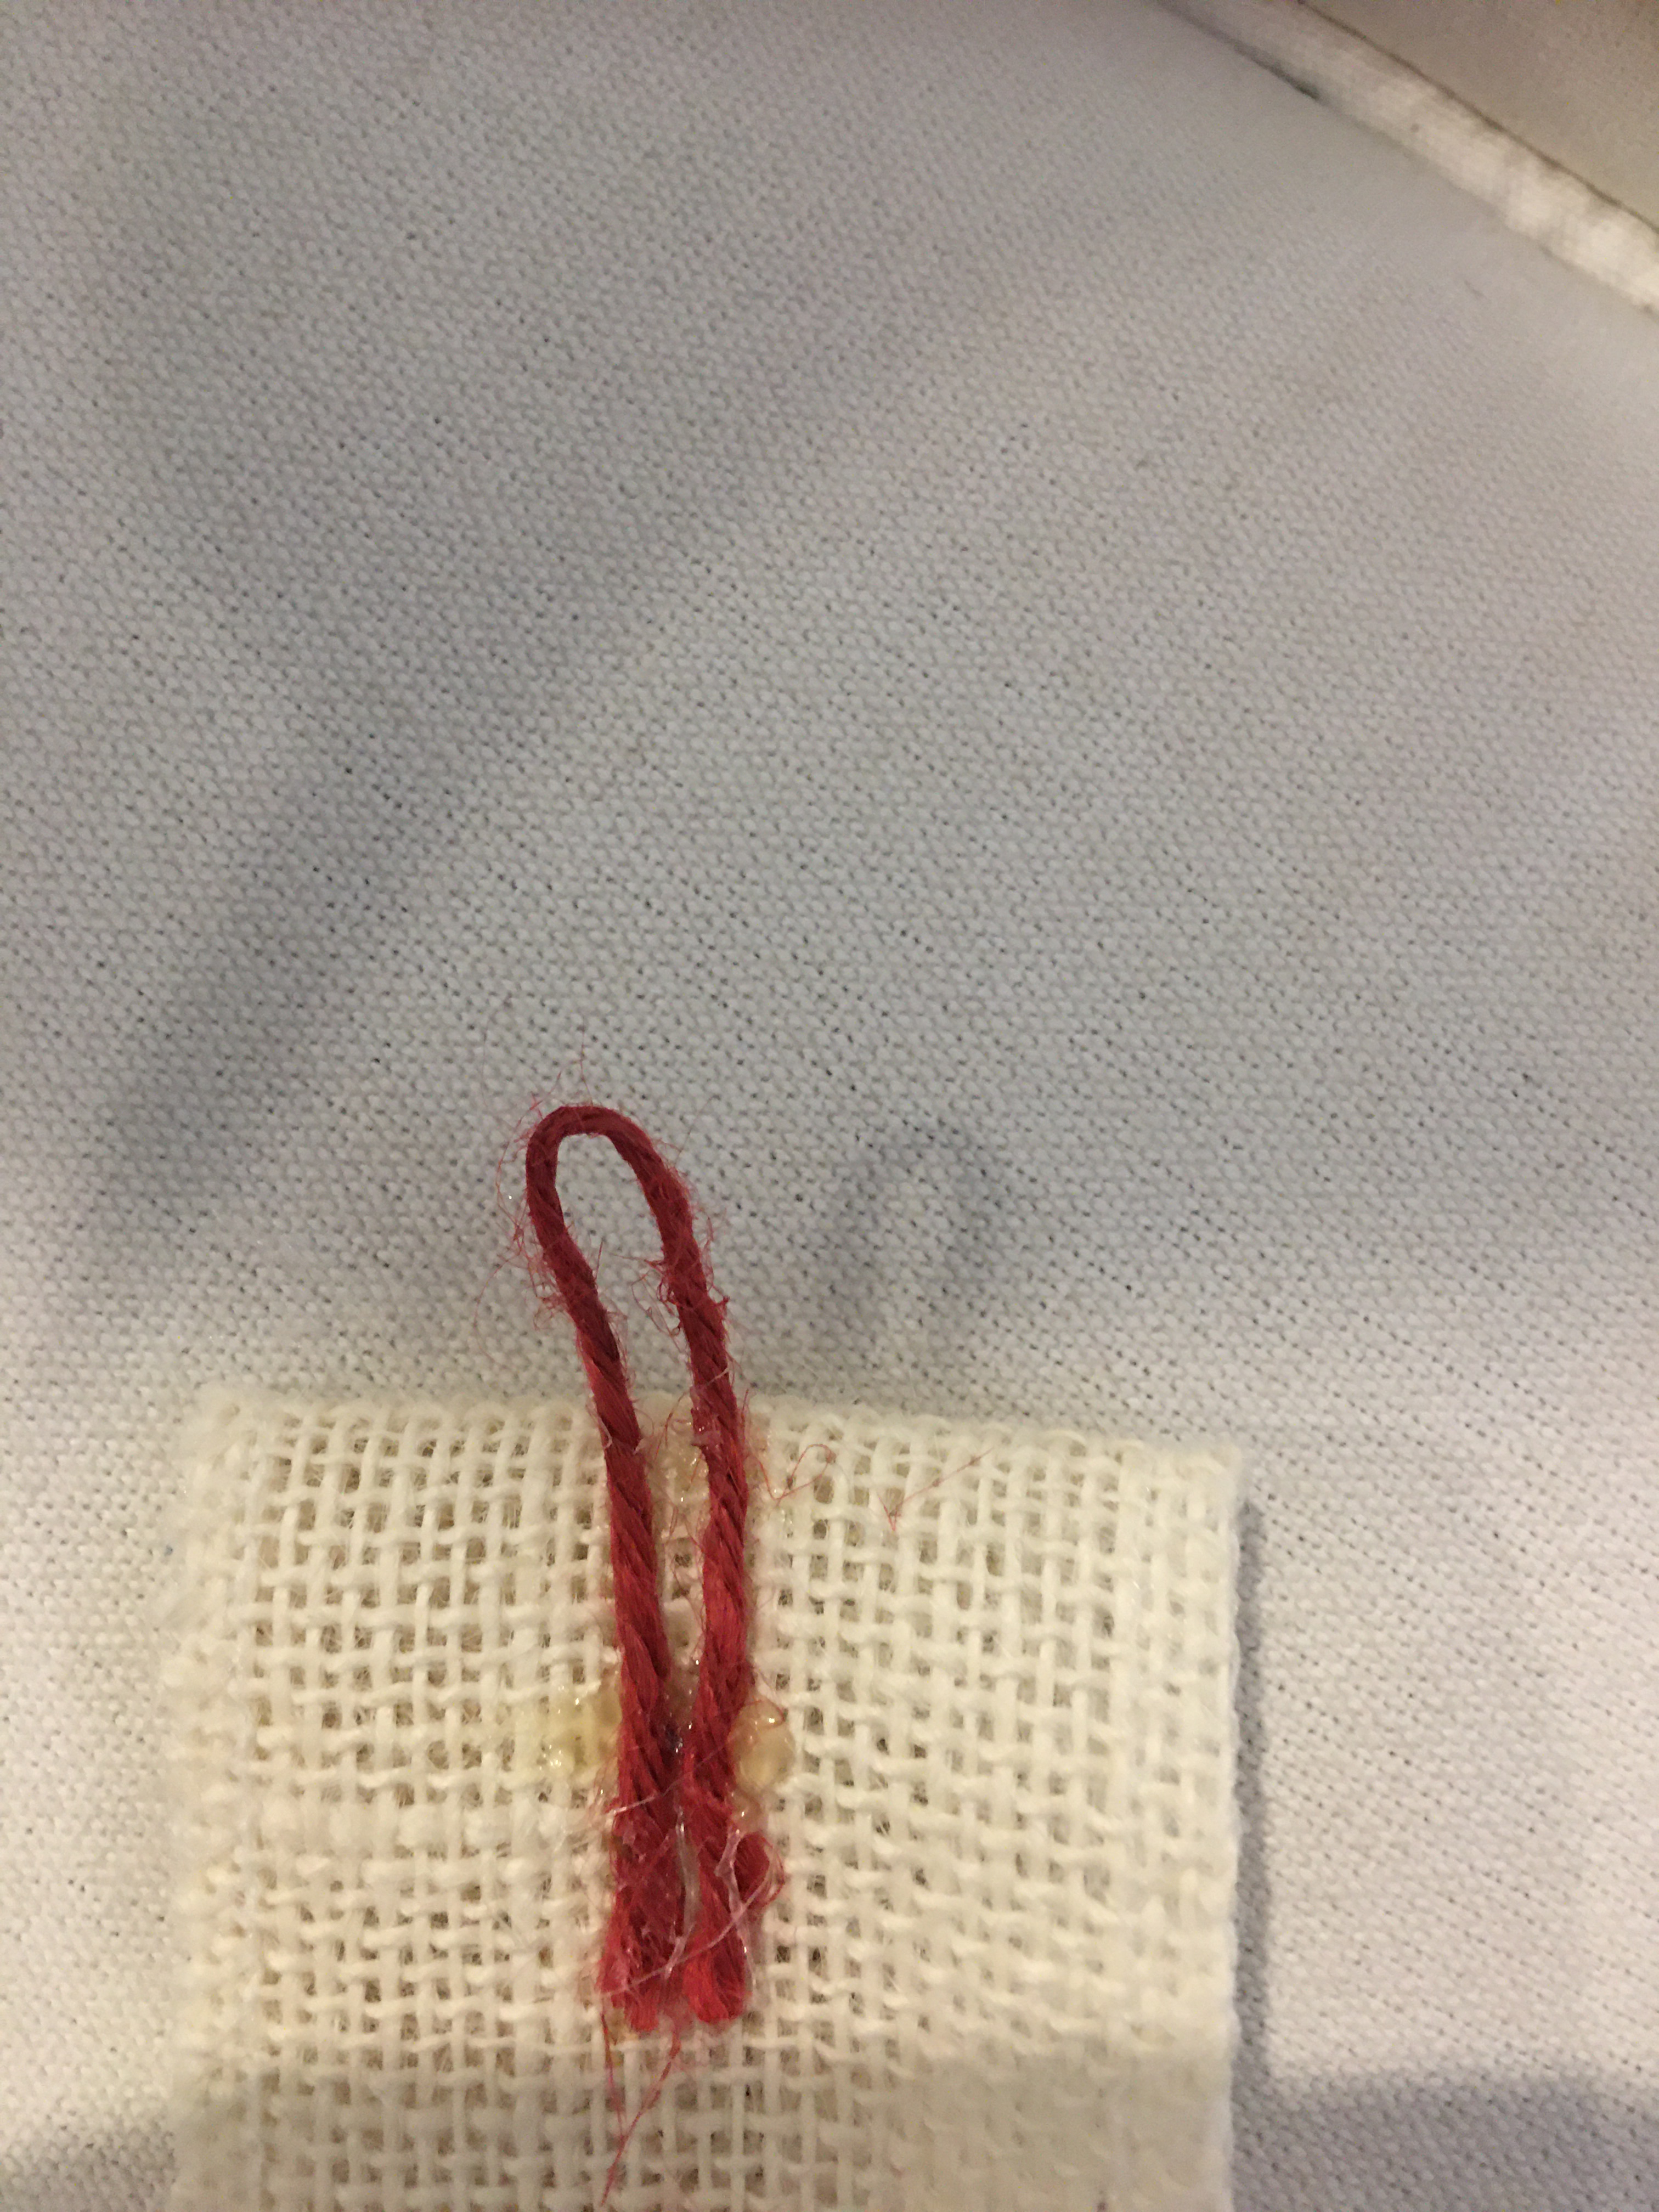
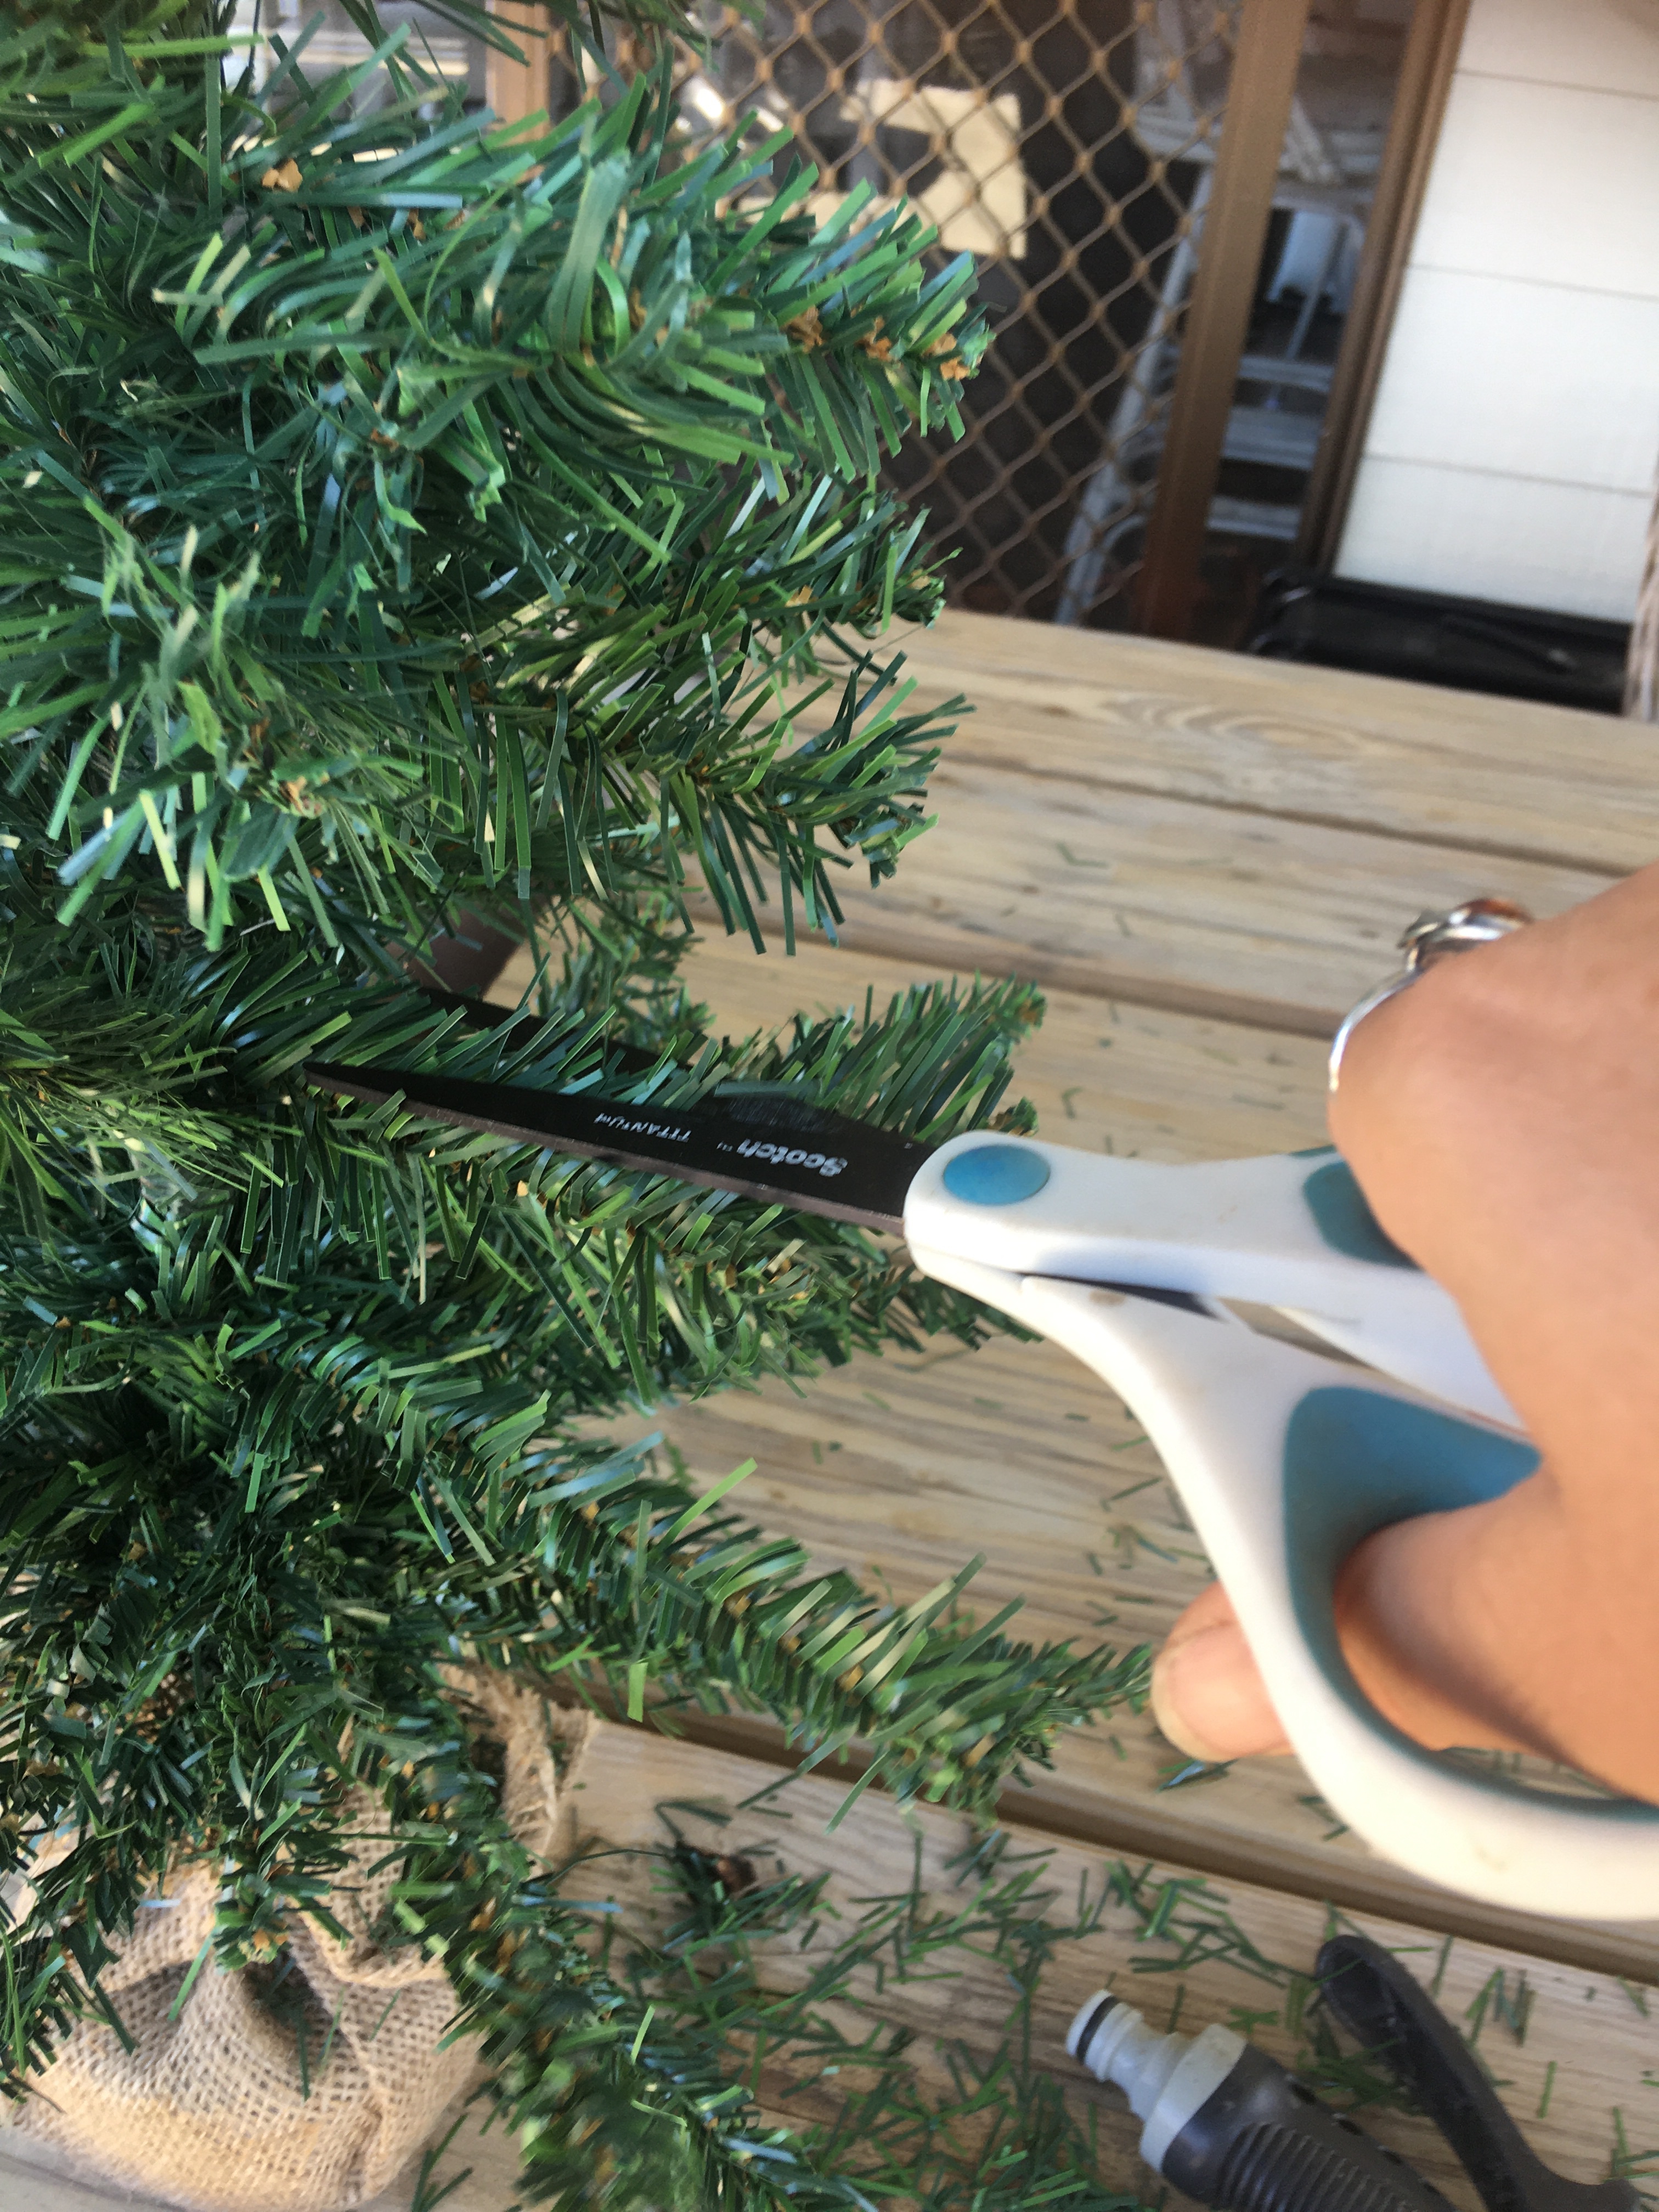
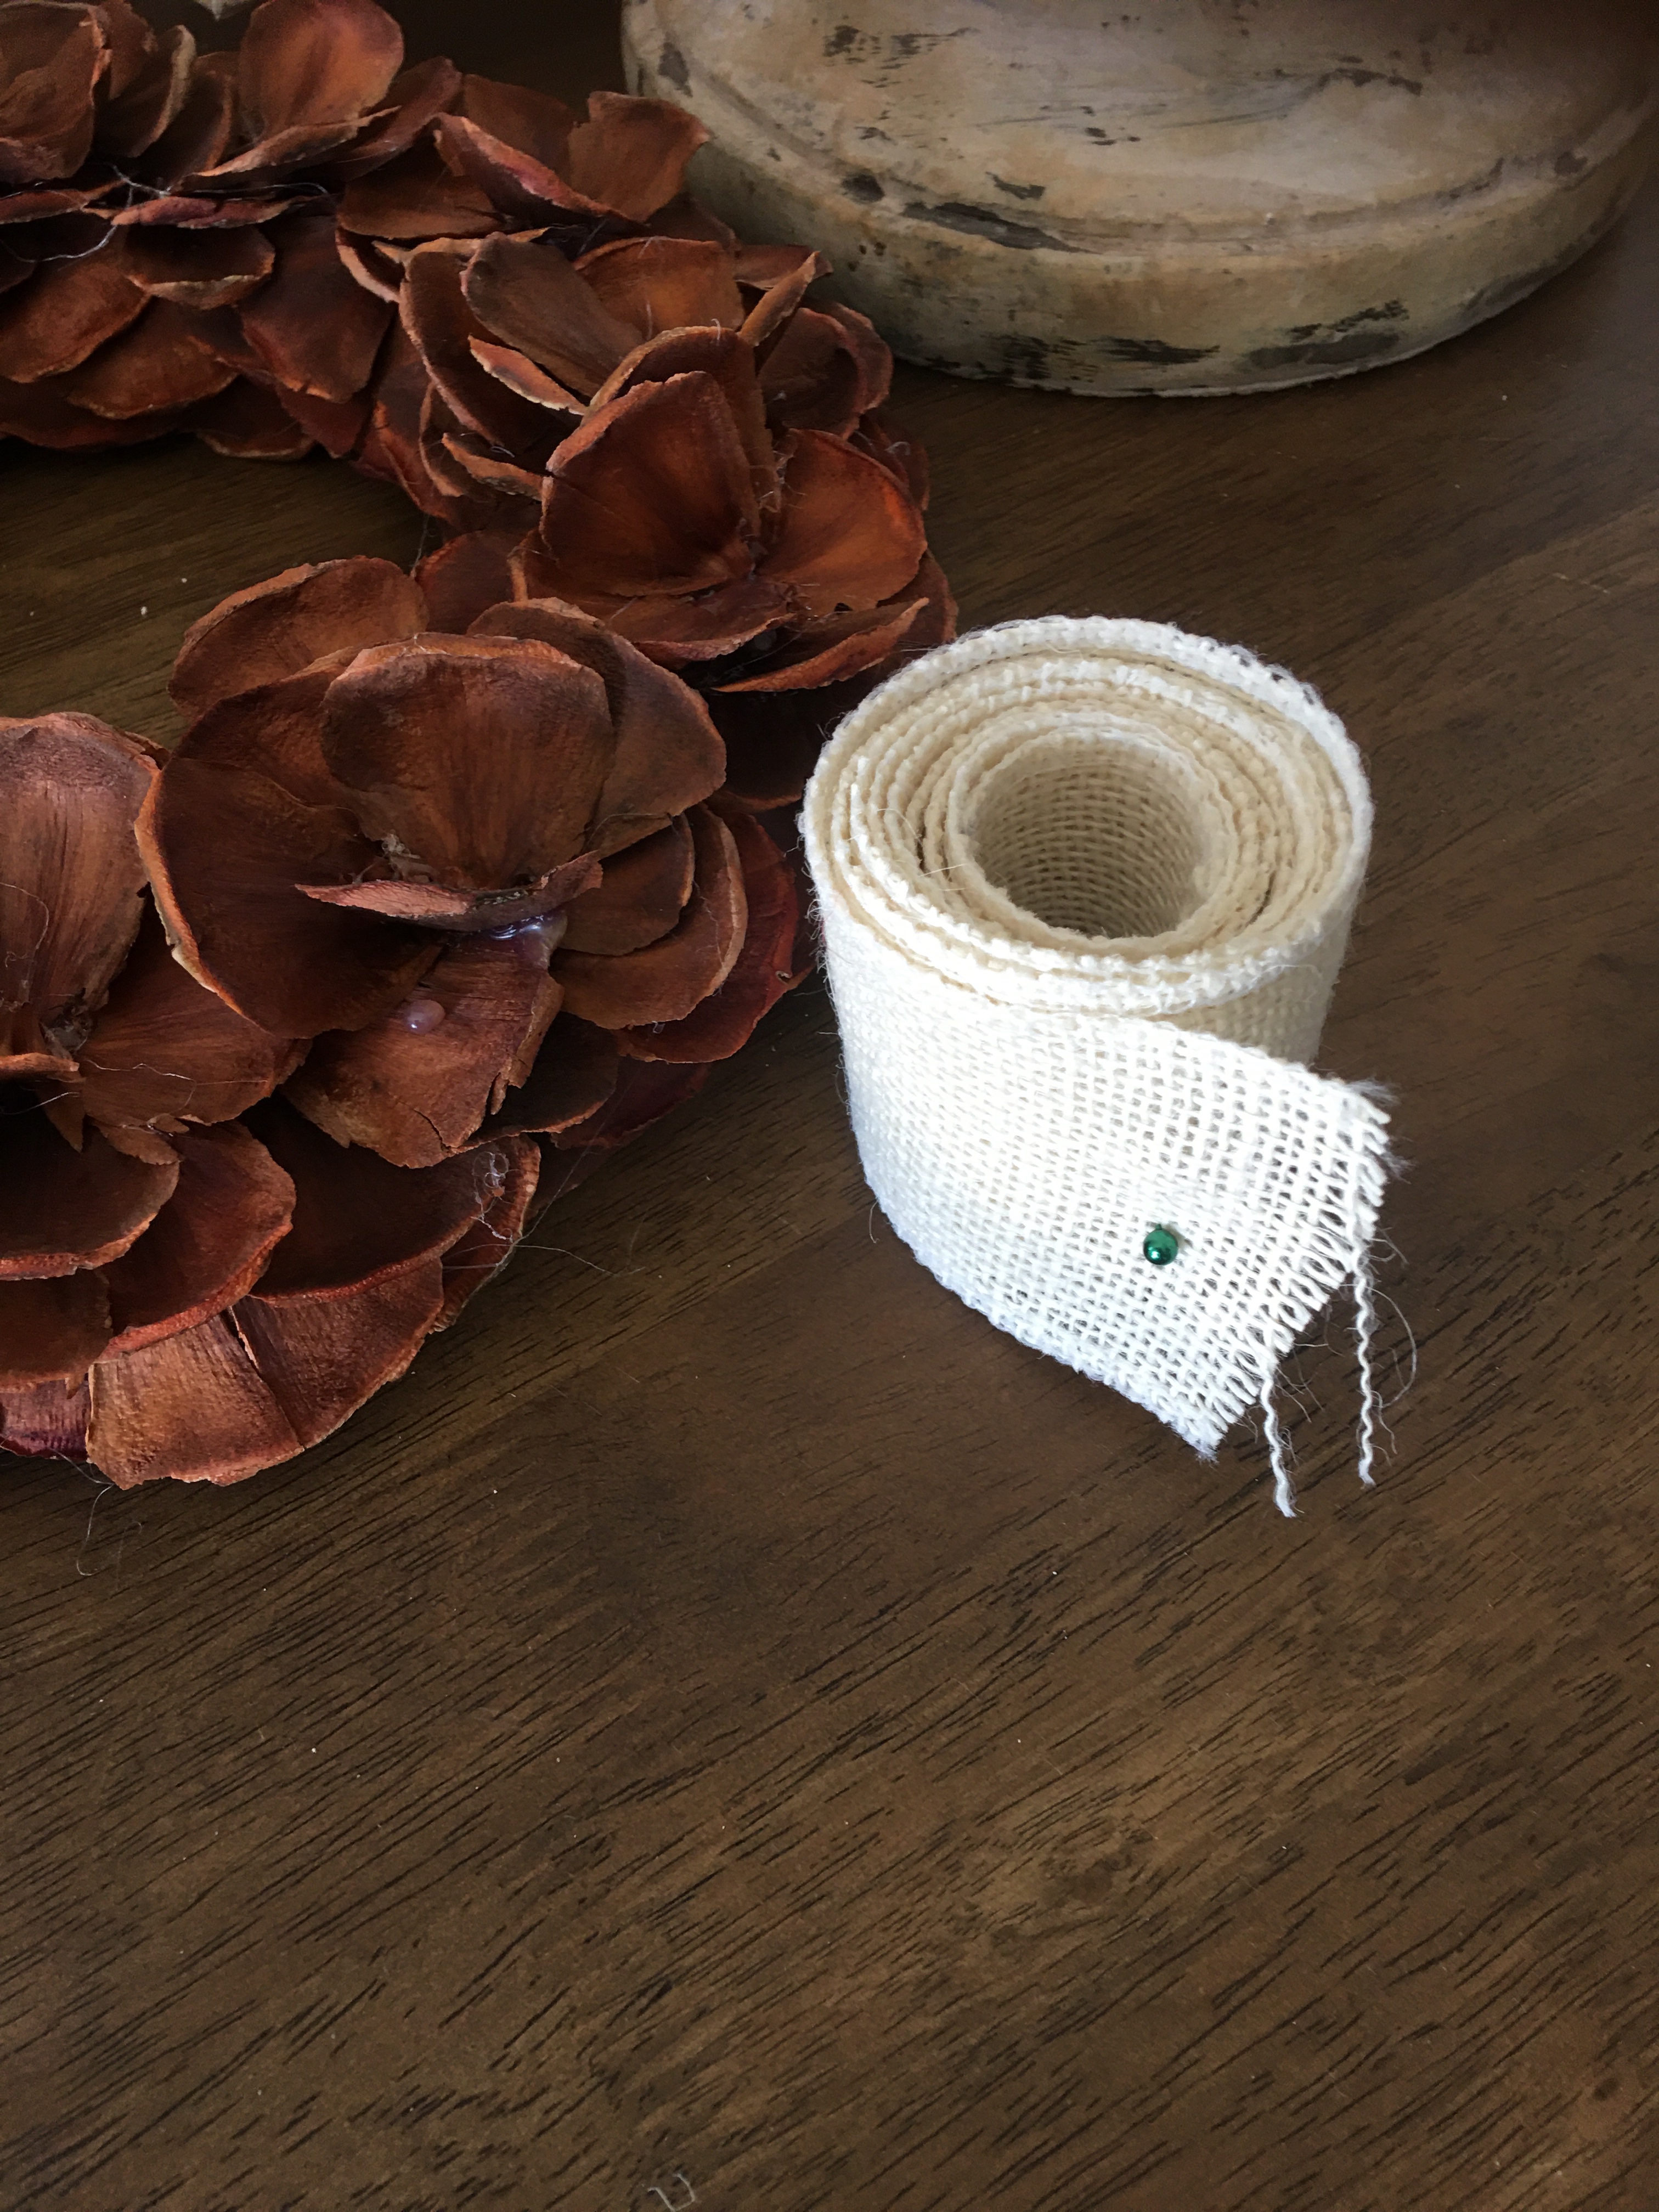 You can cut your own desired length at all , what ever suited your space!!


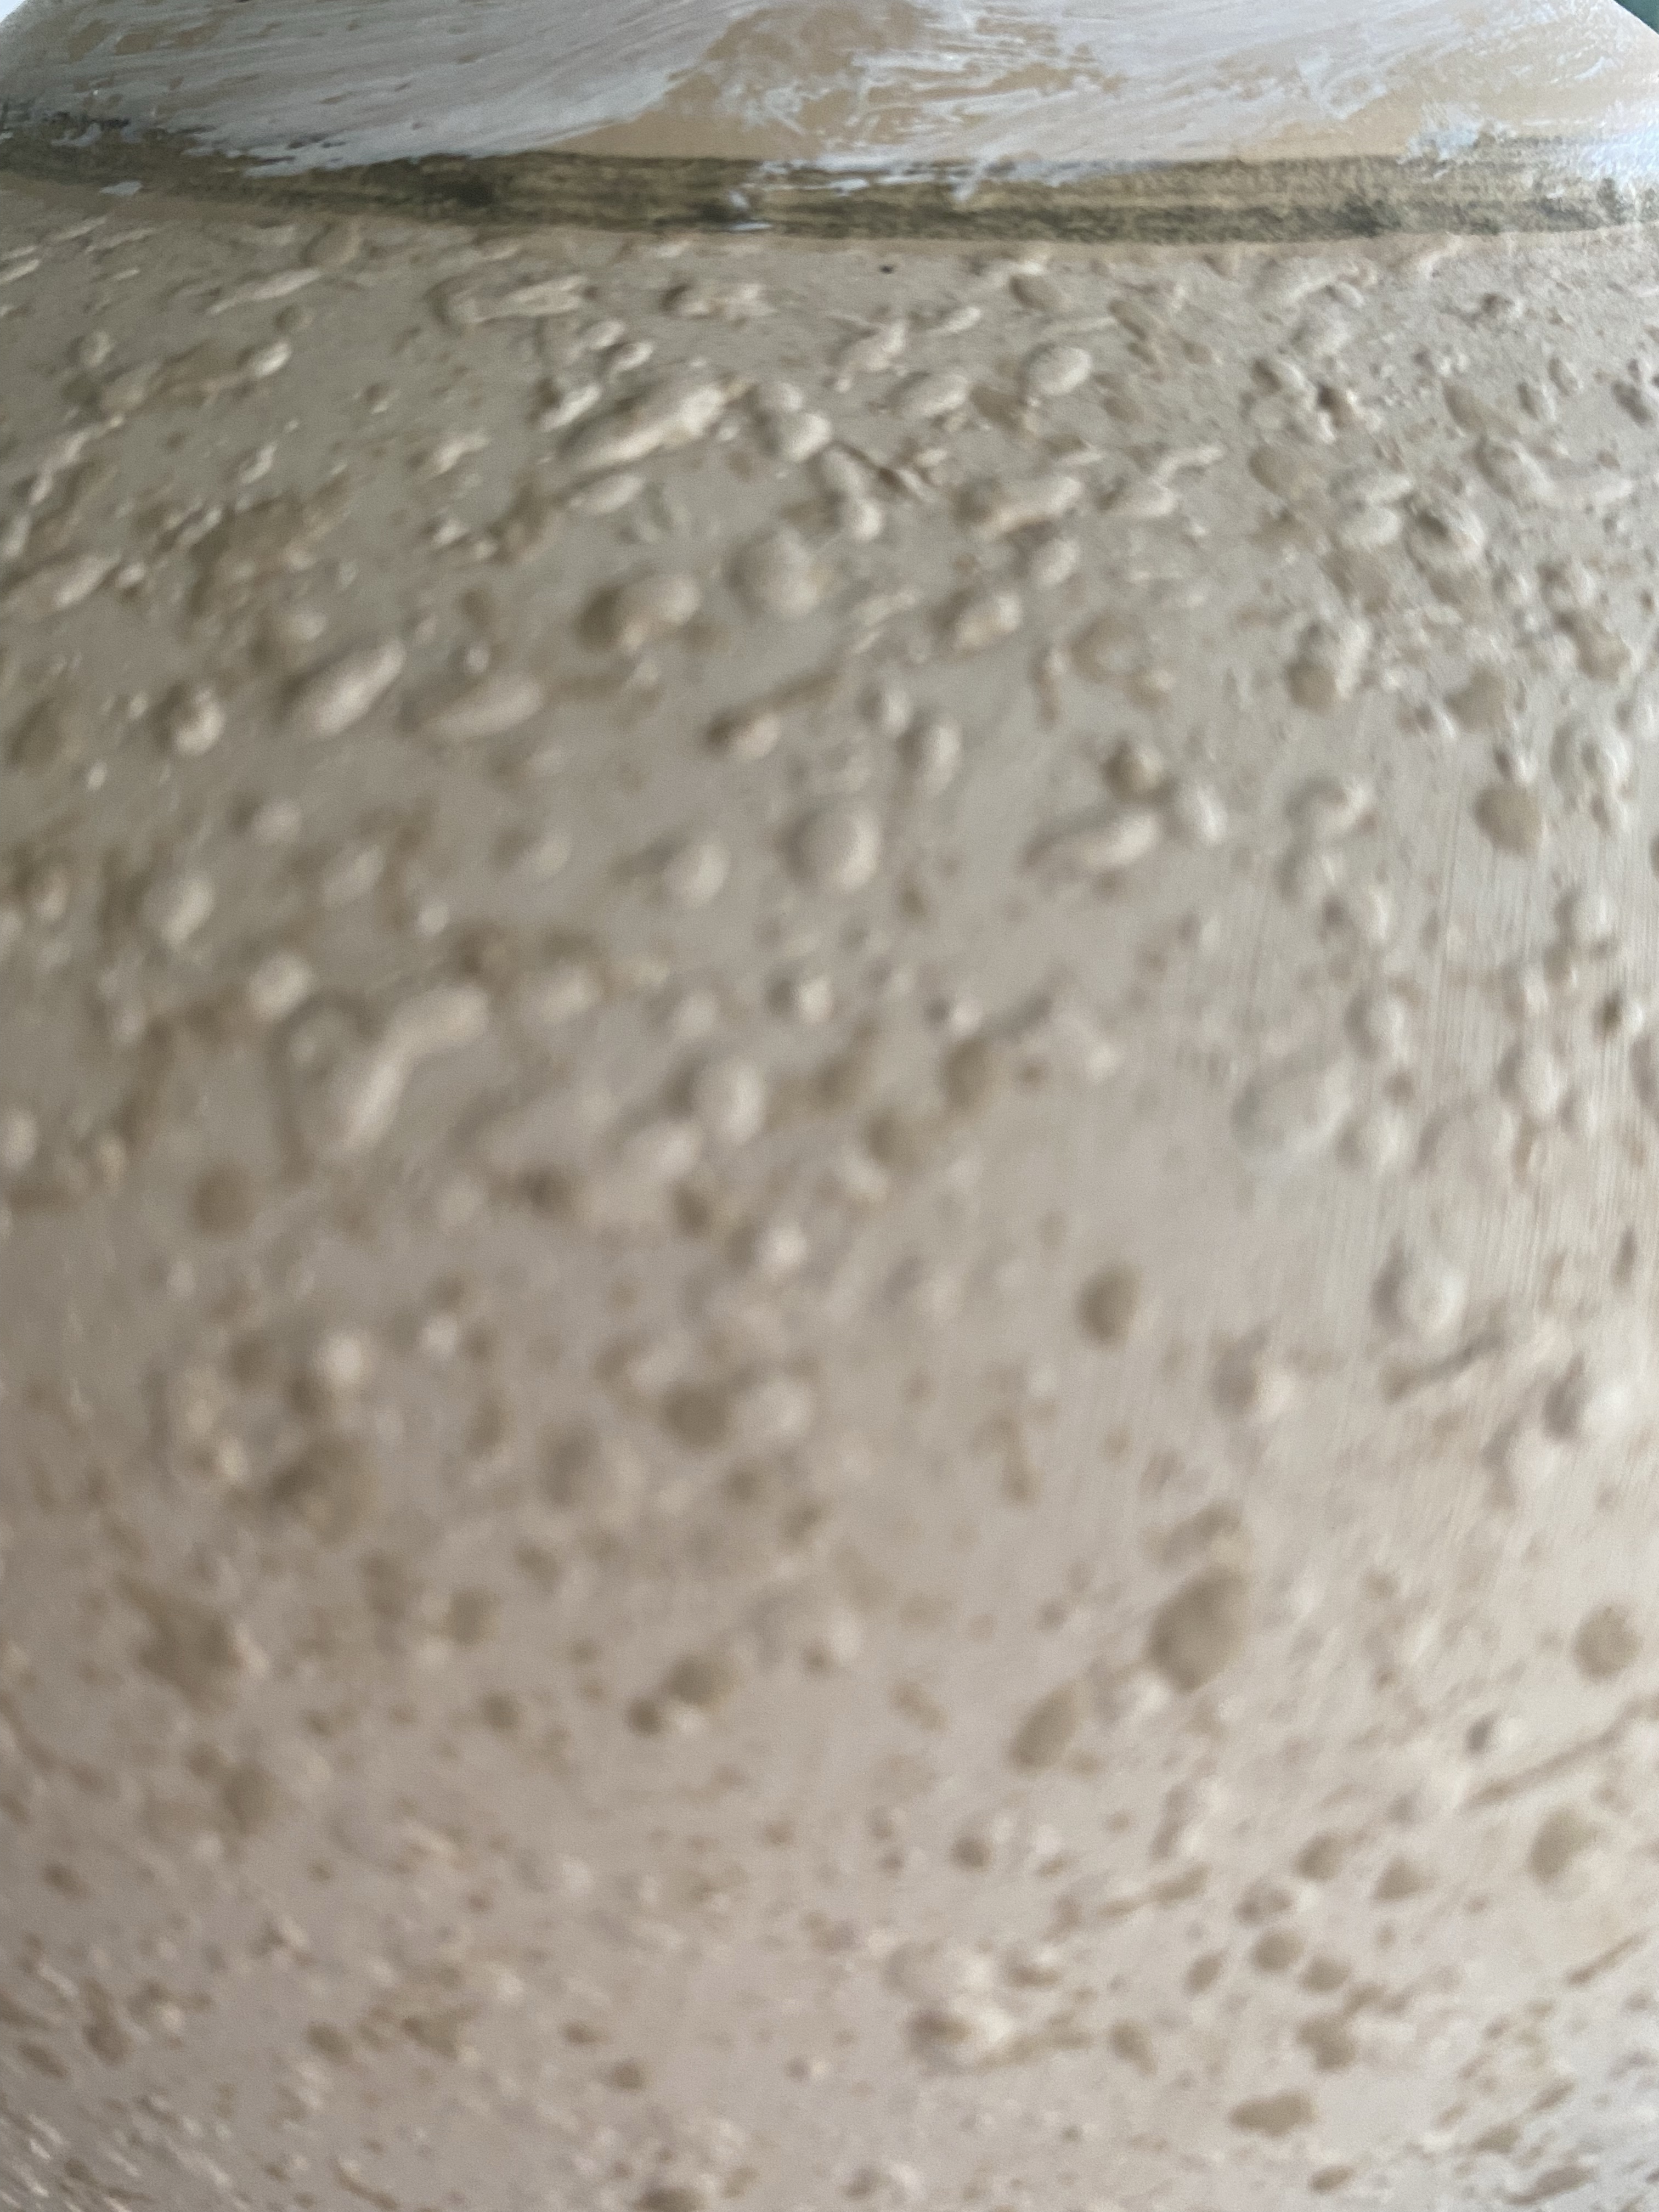


 I kept using a wet rag to try and take away some of the white paint and when I finally got to the point I wanted it to be ,I just stopped and left it to dry!


 Next job!


 damp cloth added paint and taking it off until I got my desired look… You can’t go wrong or over do it , this is actually for the ameture, just keep working it until you love it..


 .
.


 Hi all (waves) Welcome to another thrift store challenge hosted by my blogging buddy Tara!


 Terrie over at Decorate and More with Tip[/caption]


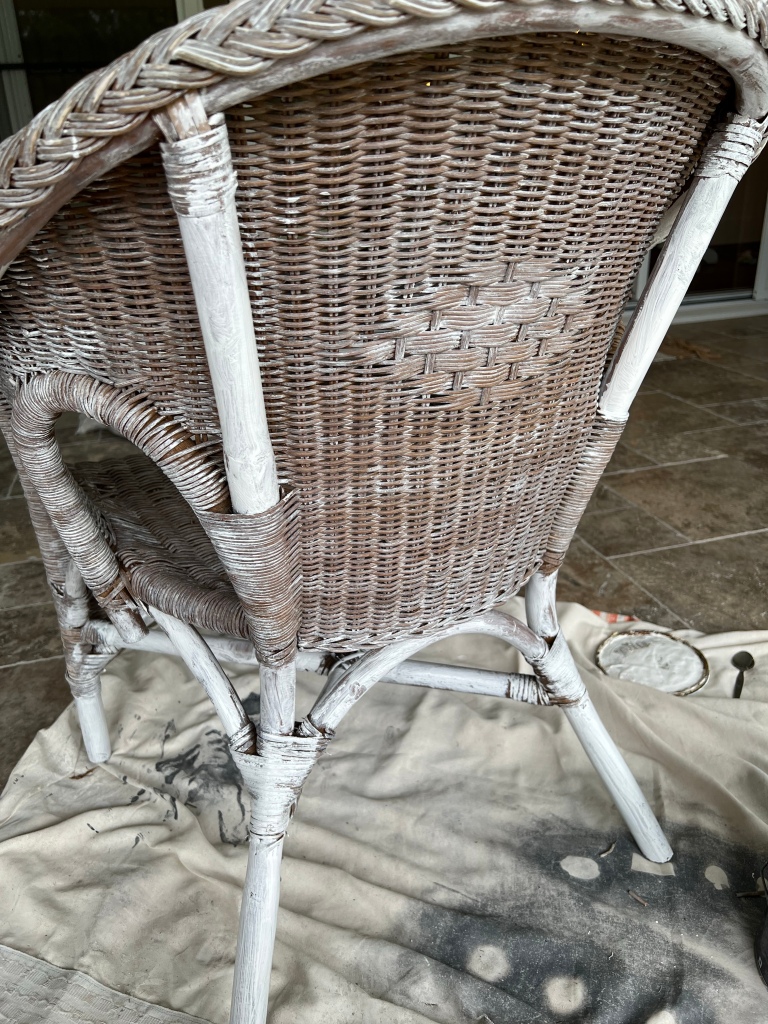
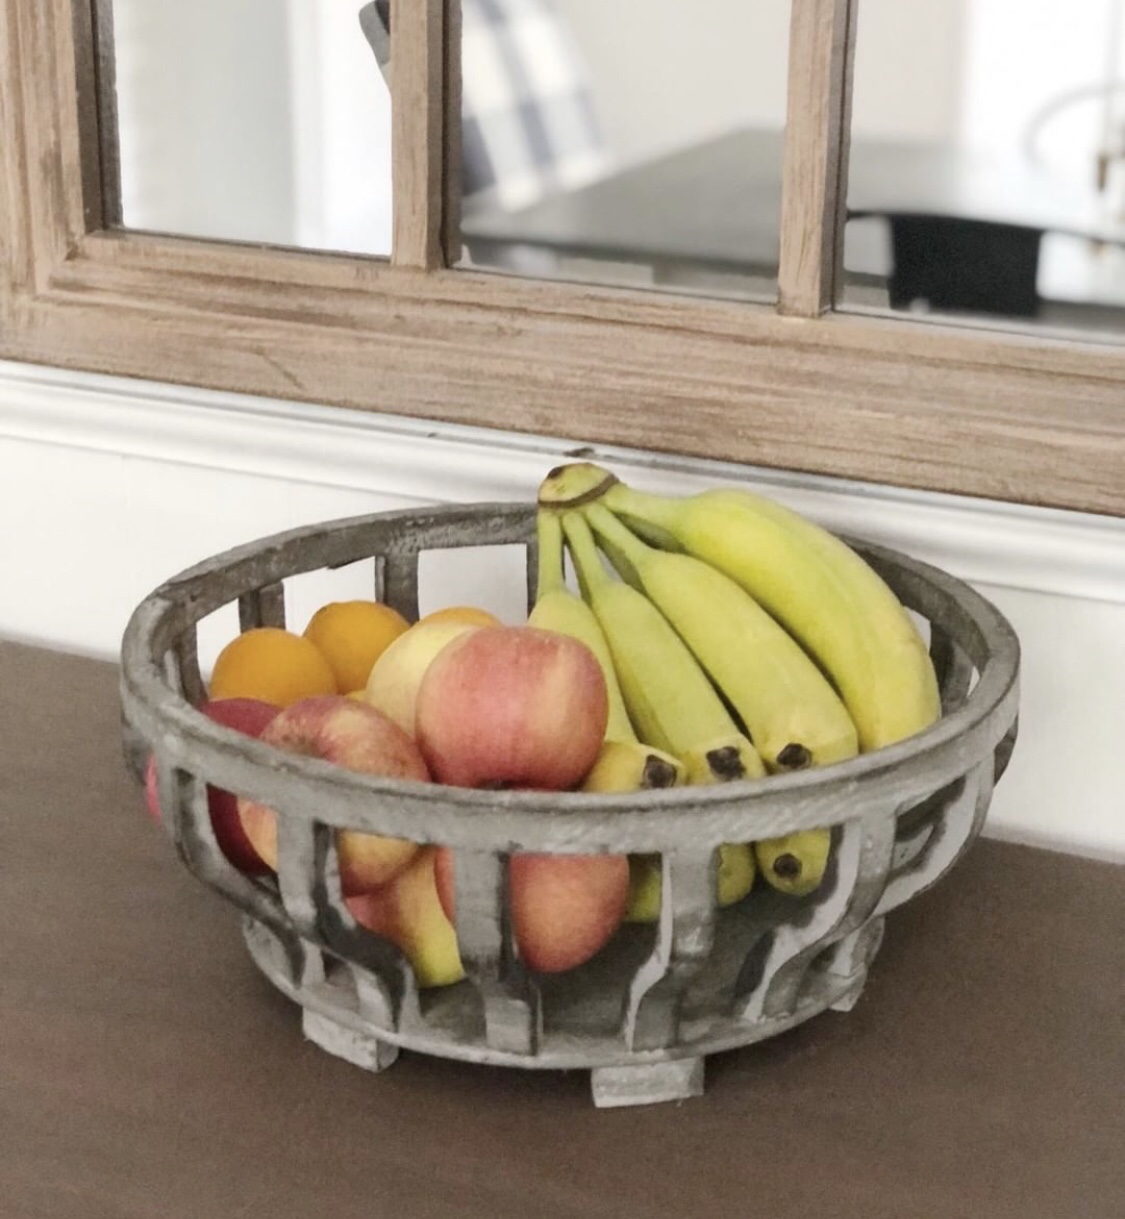
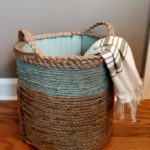
 Well as you can see from below my basket went in an opposite direction to what I wanted it to turn out like and that’s ok because with DIY projects sometimes they just take on a different dimension than you planned.


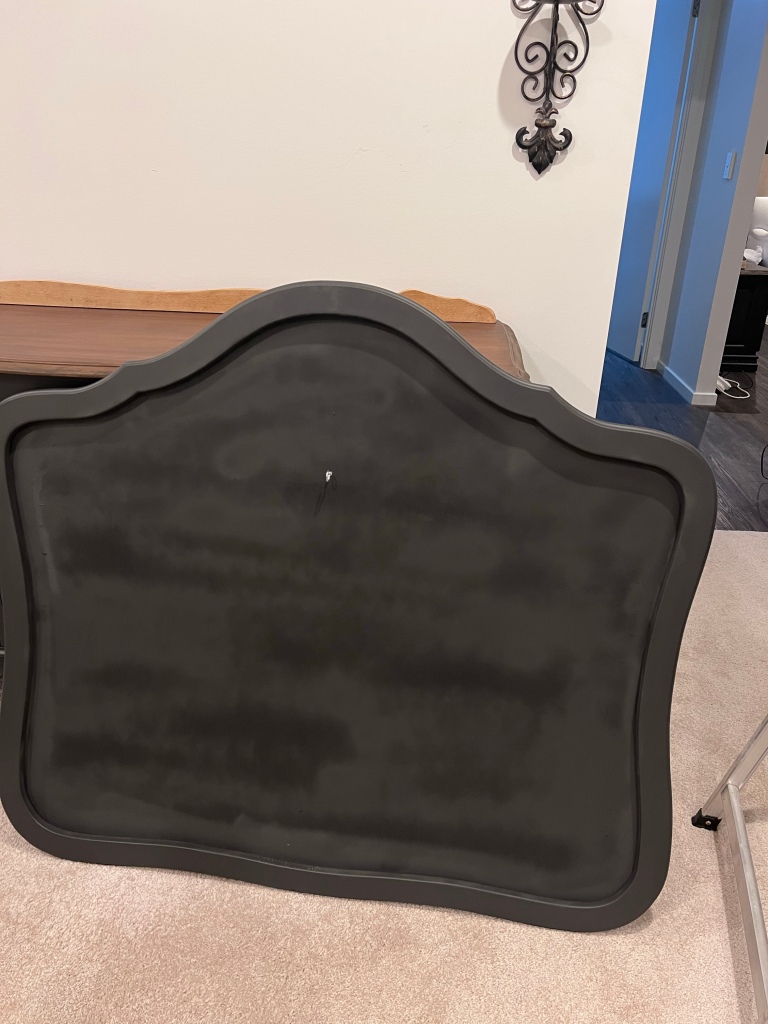
 I started off with chalk painting the whole frame and picture!
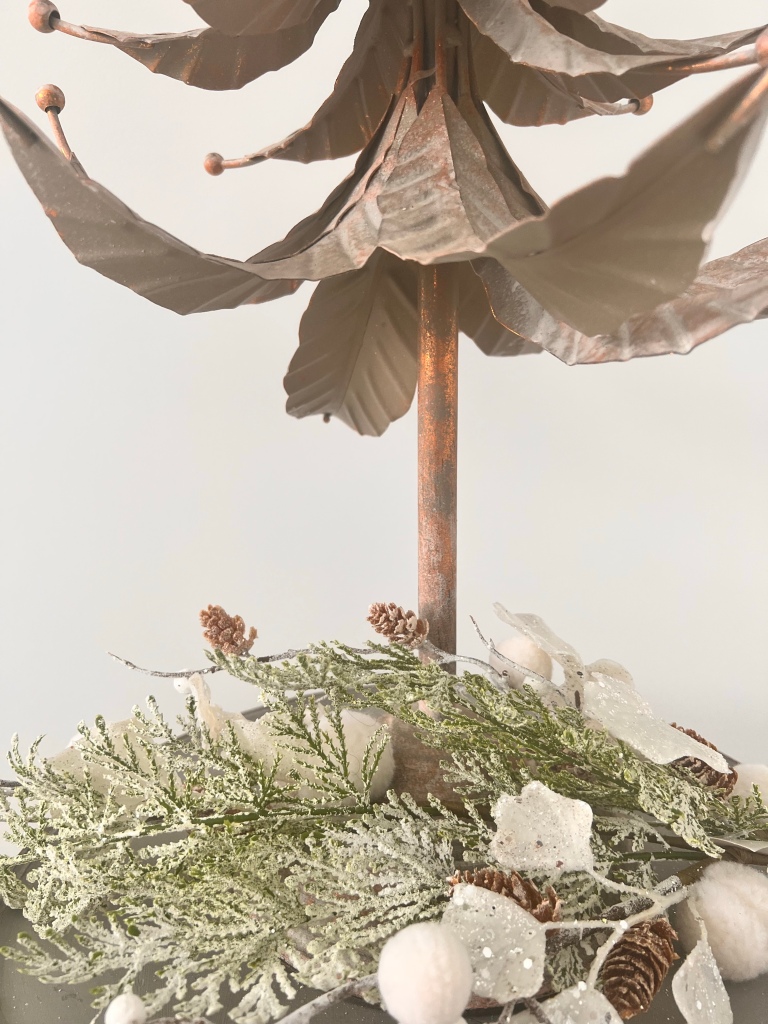
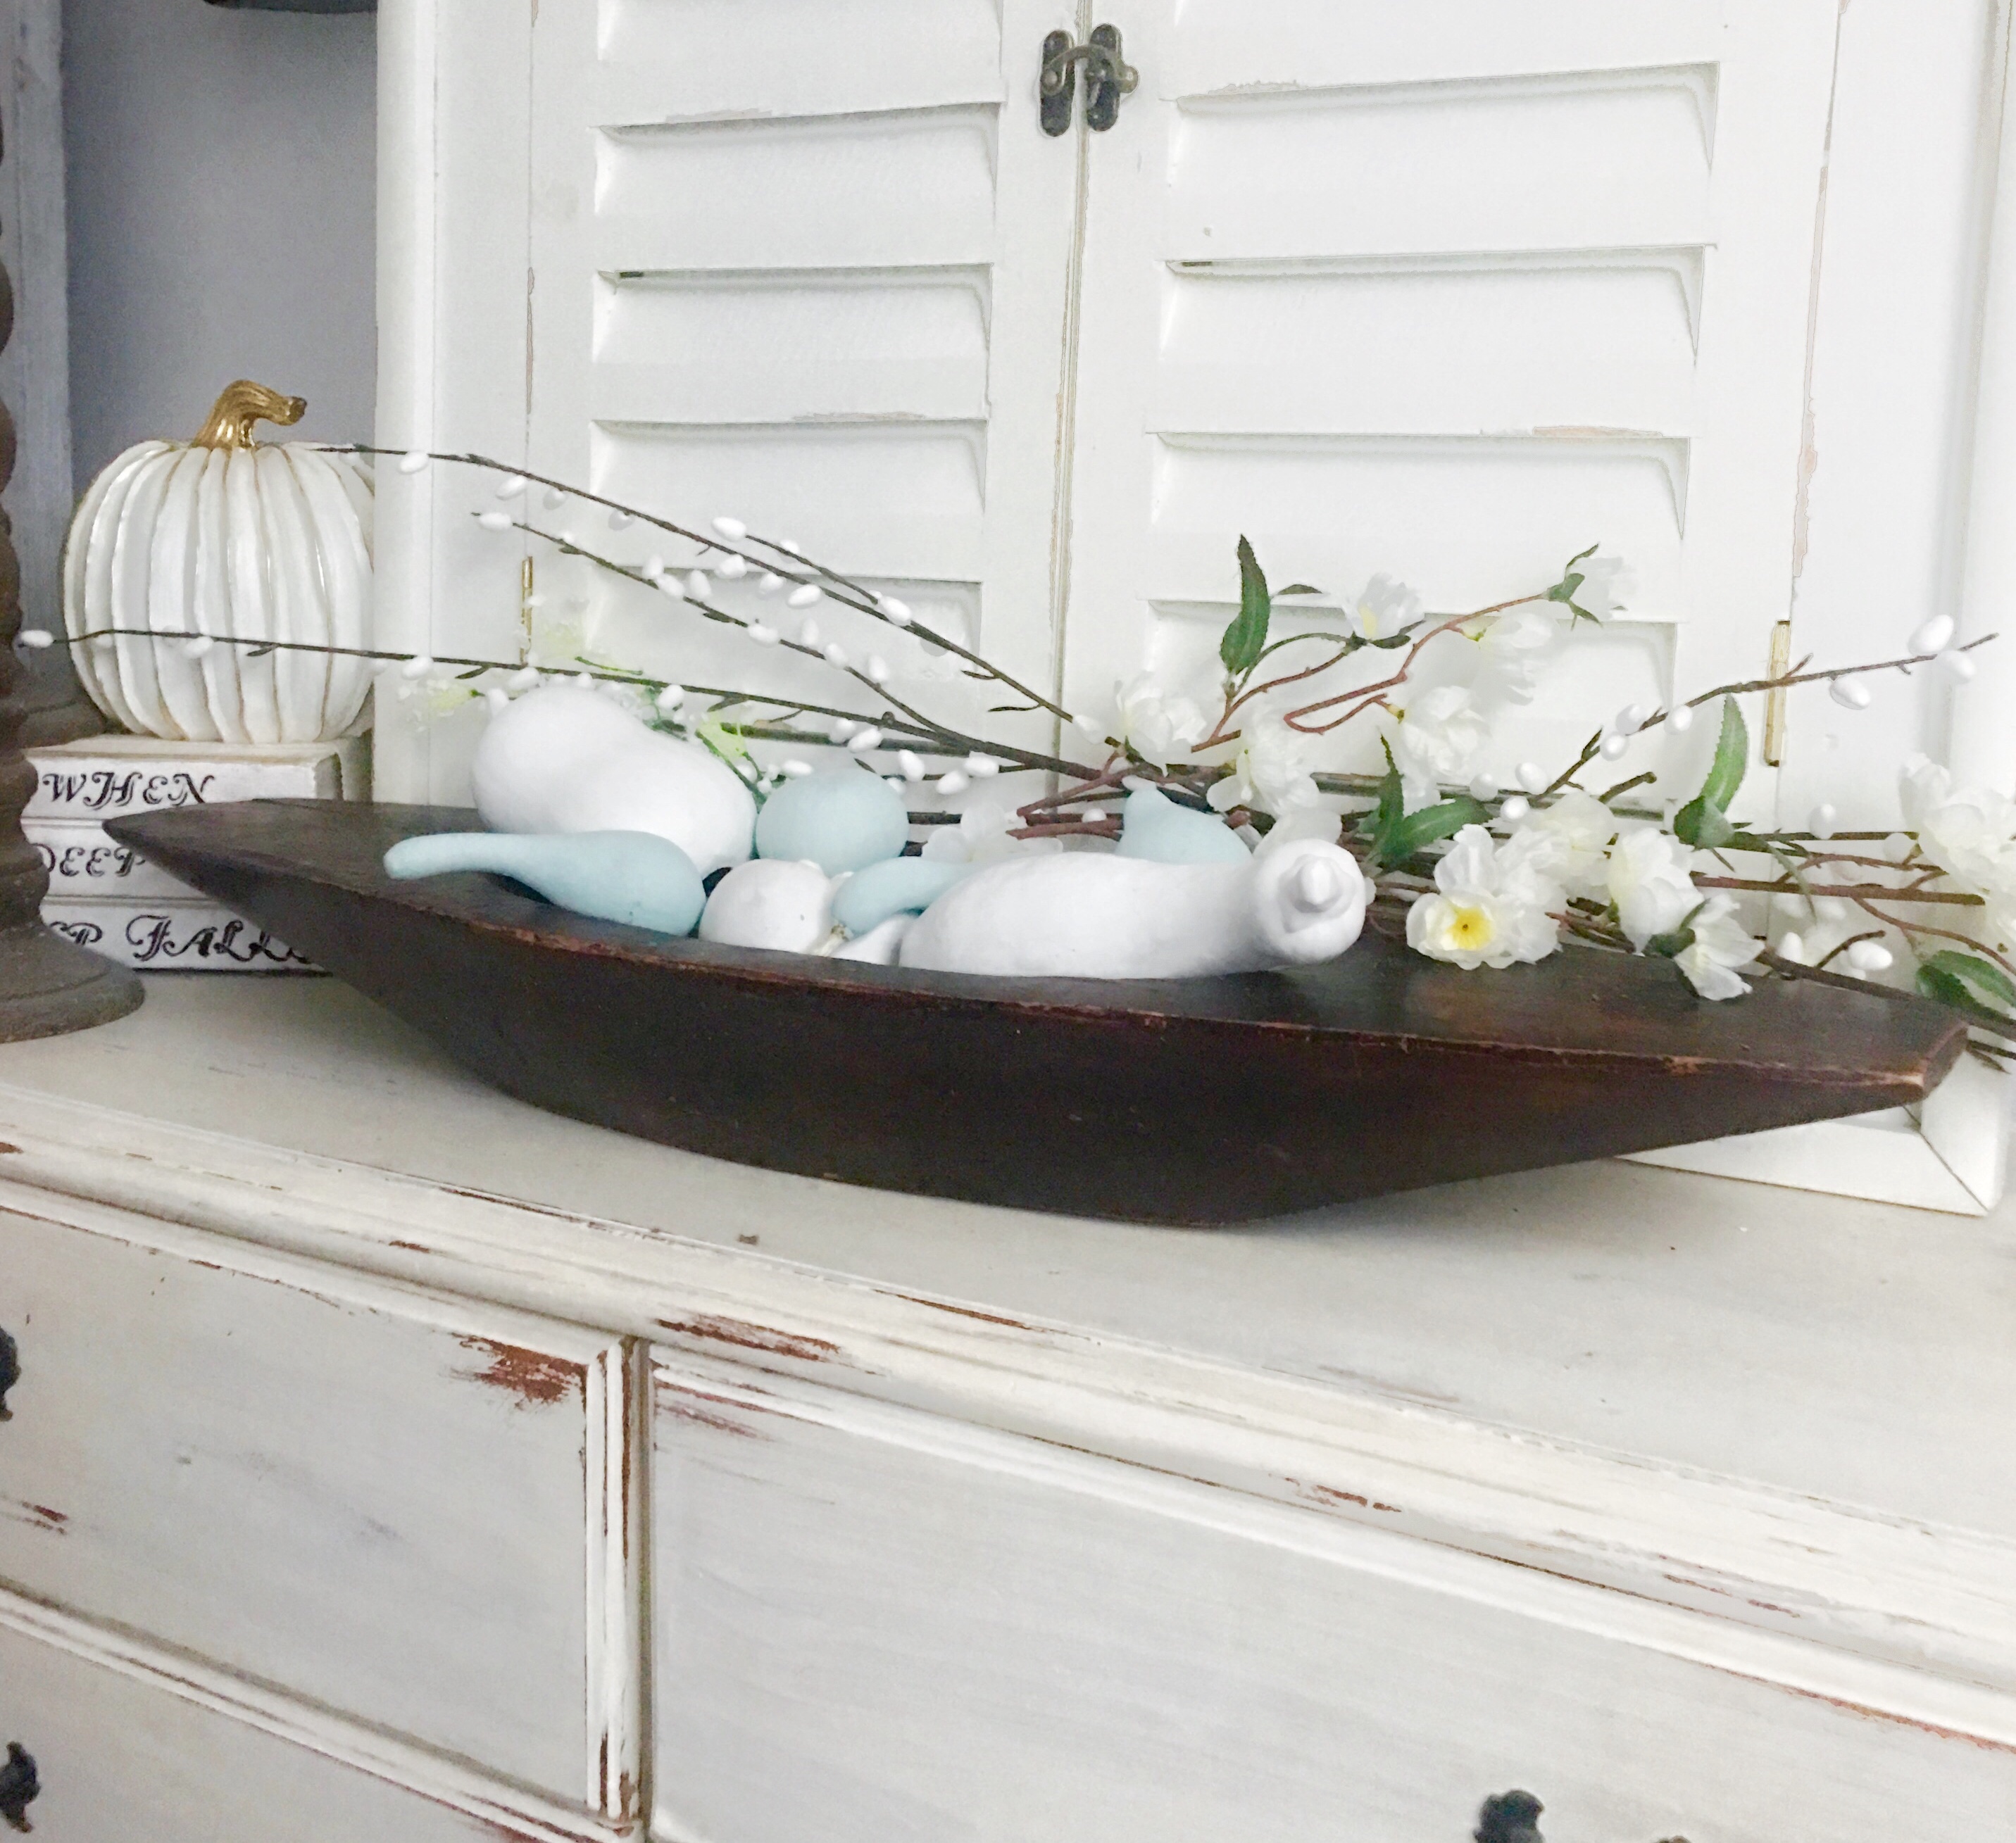
 Here above is the berry fonds that fell from my tree.. I just dry these out in the sun for a short time and use them for multiple things in my home.


 s
s


